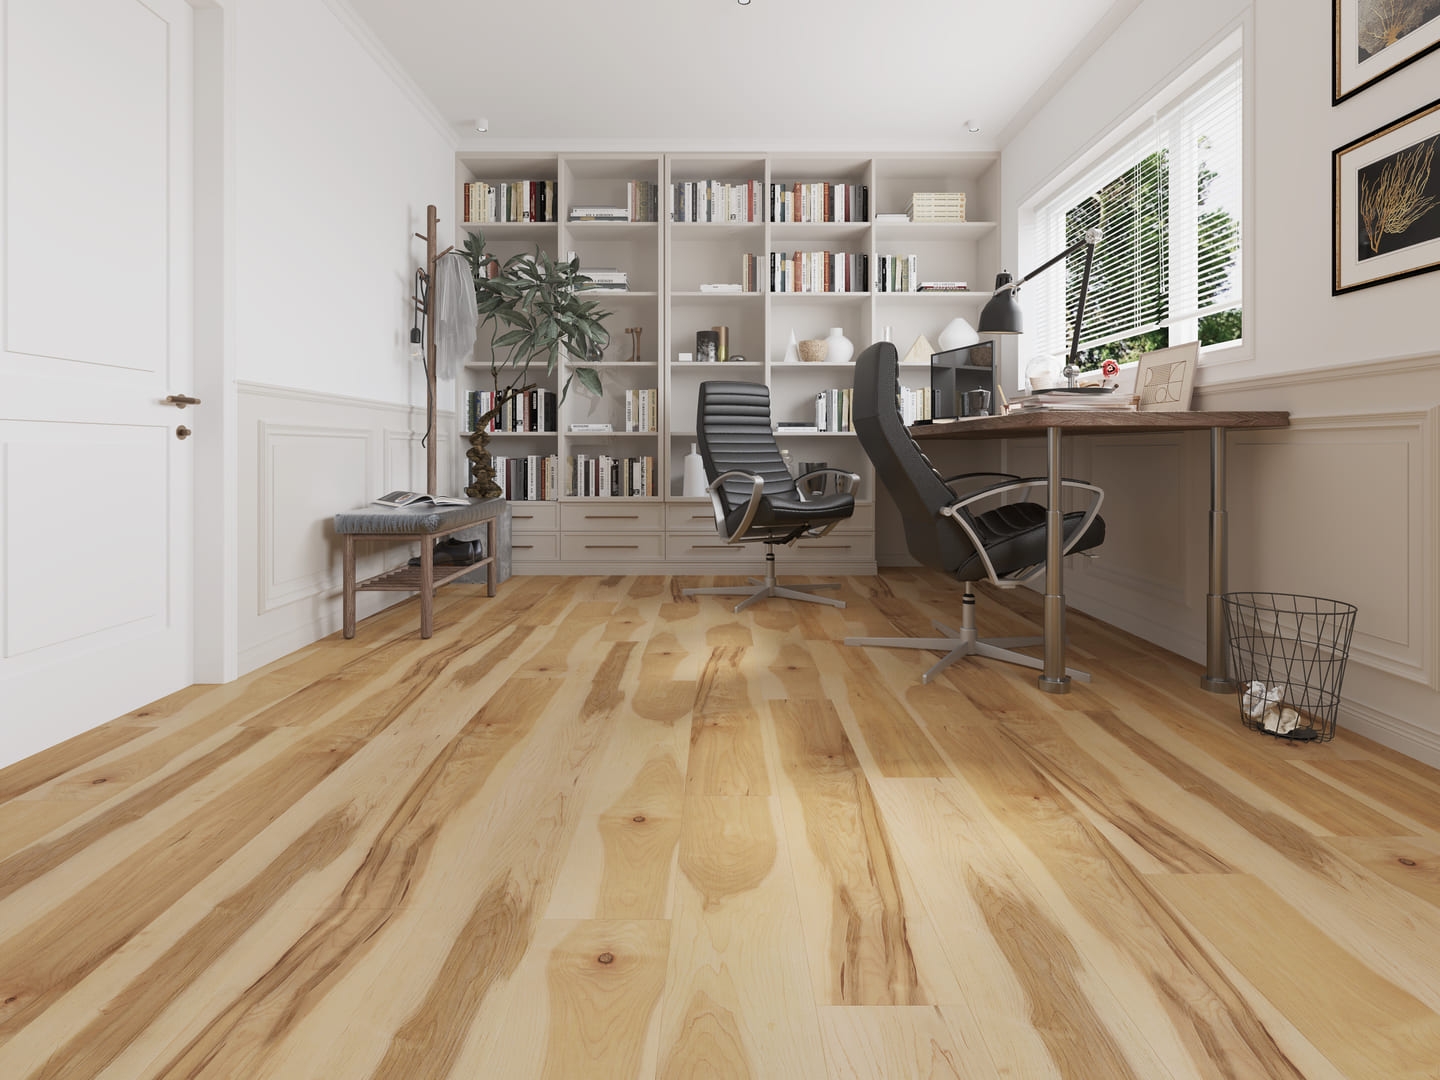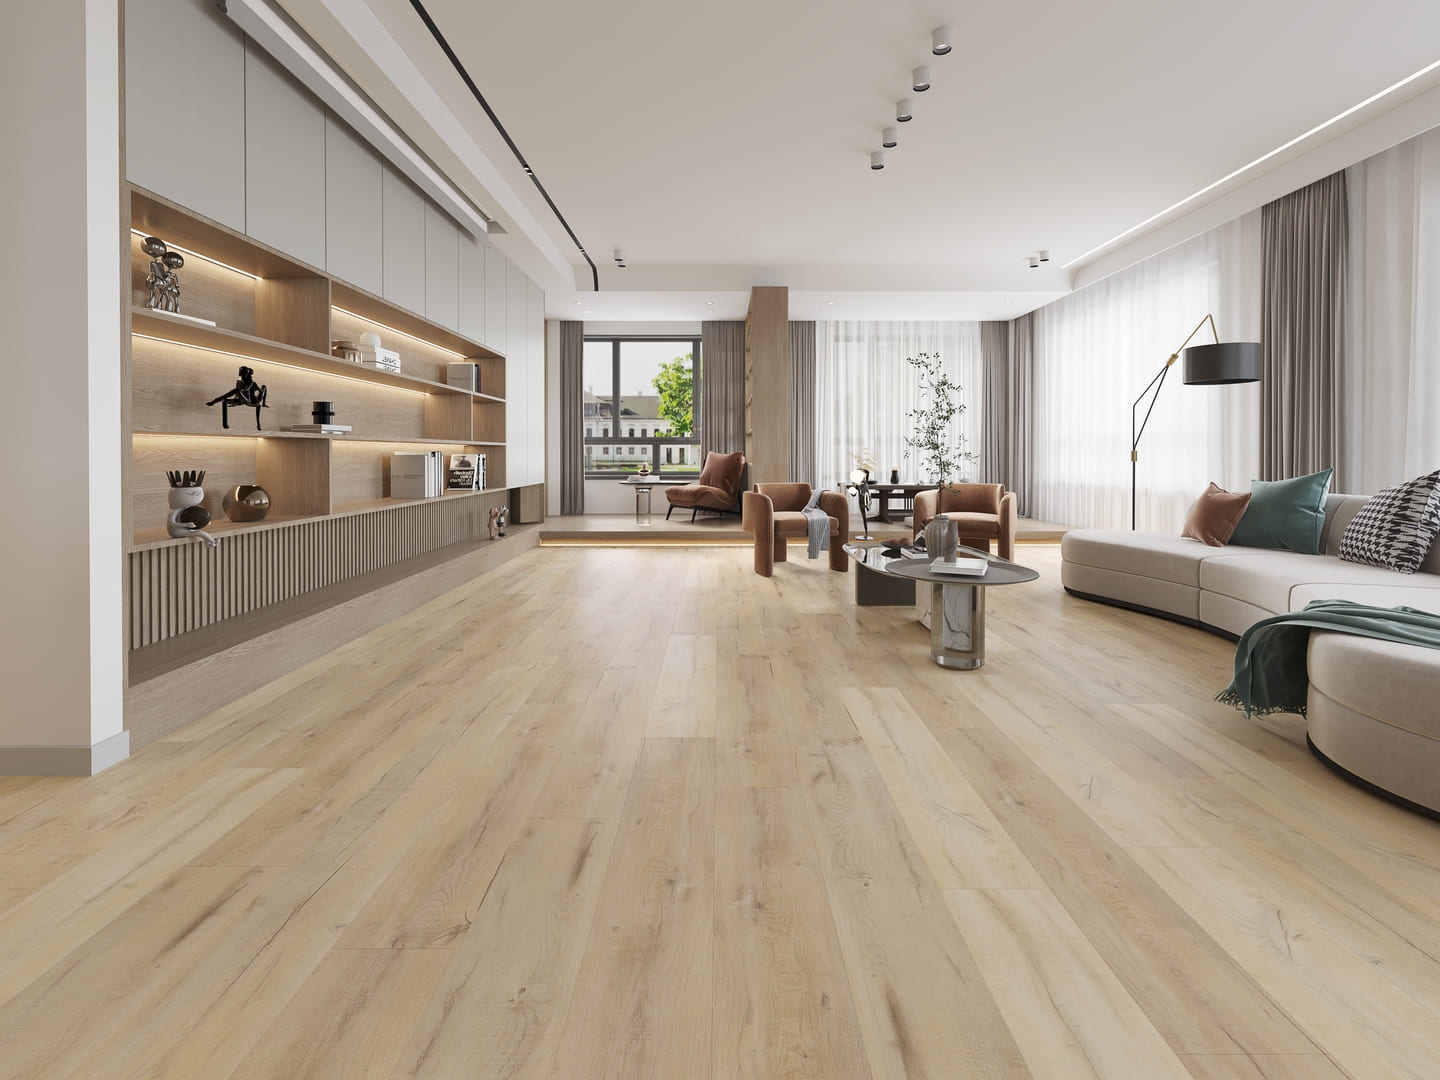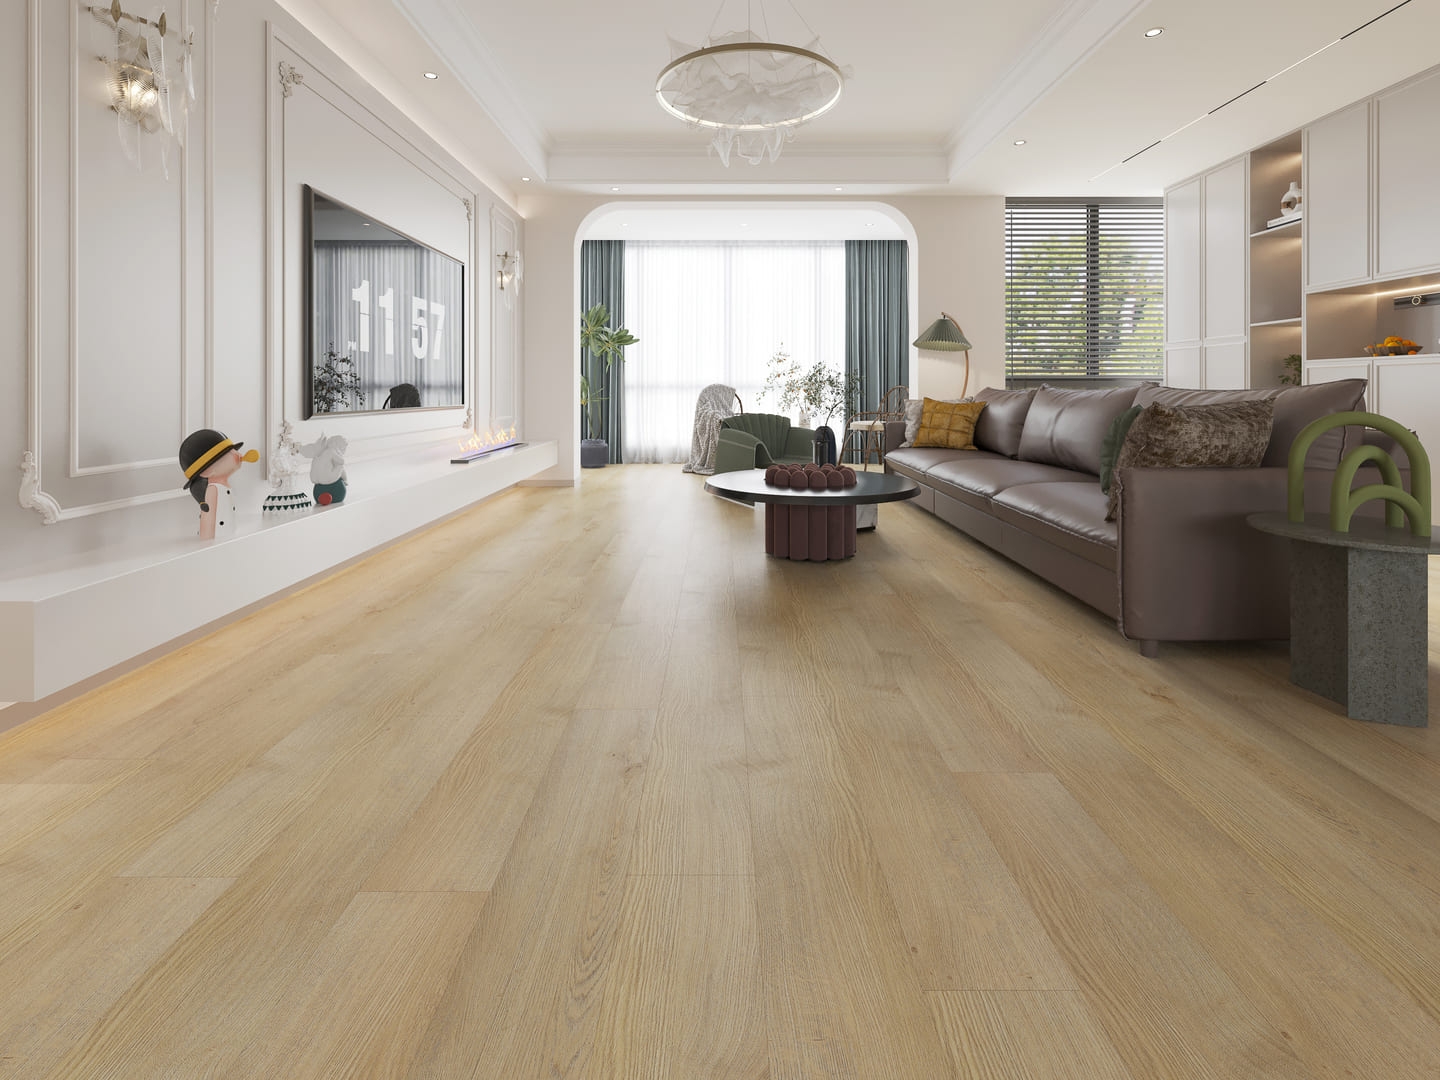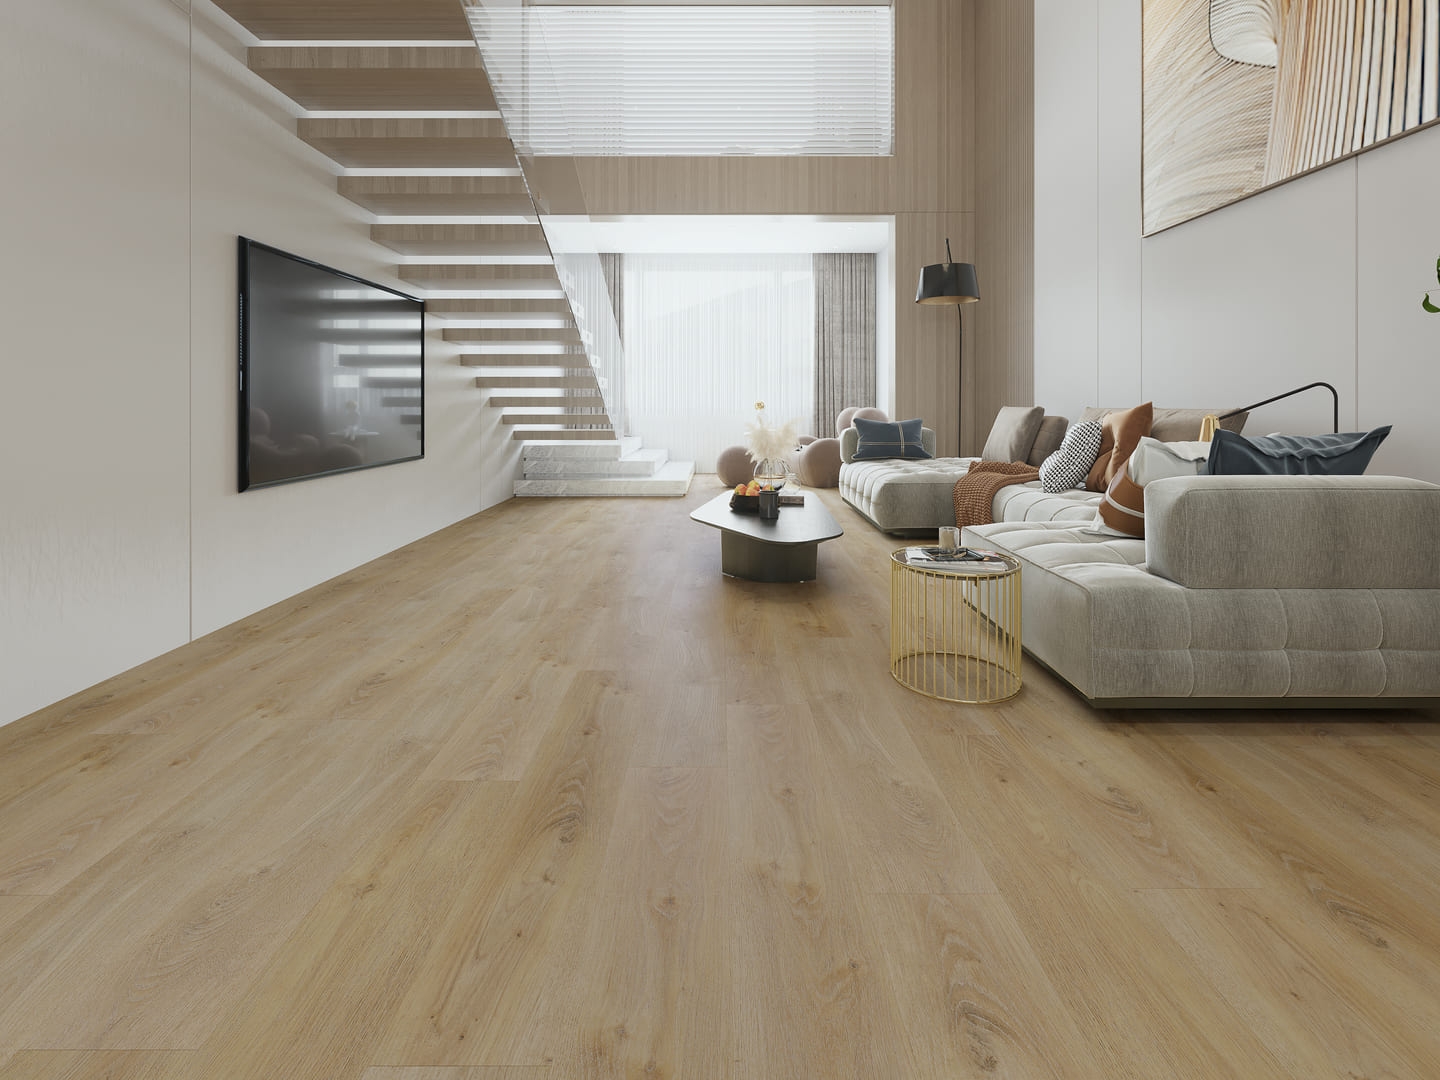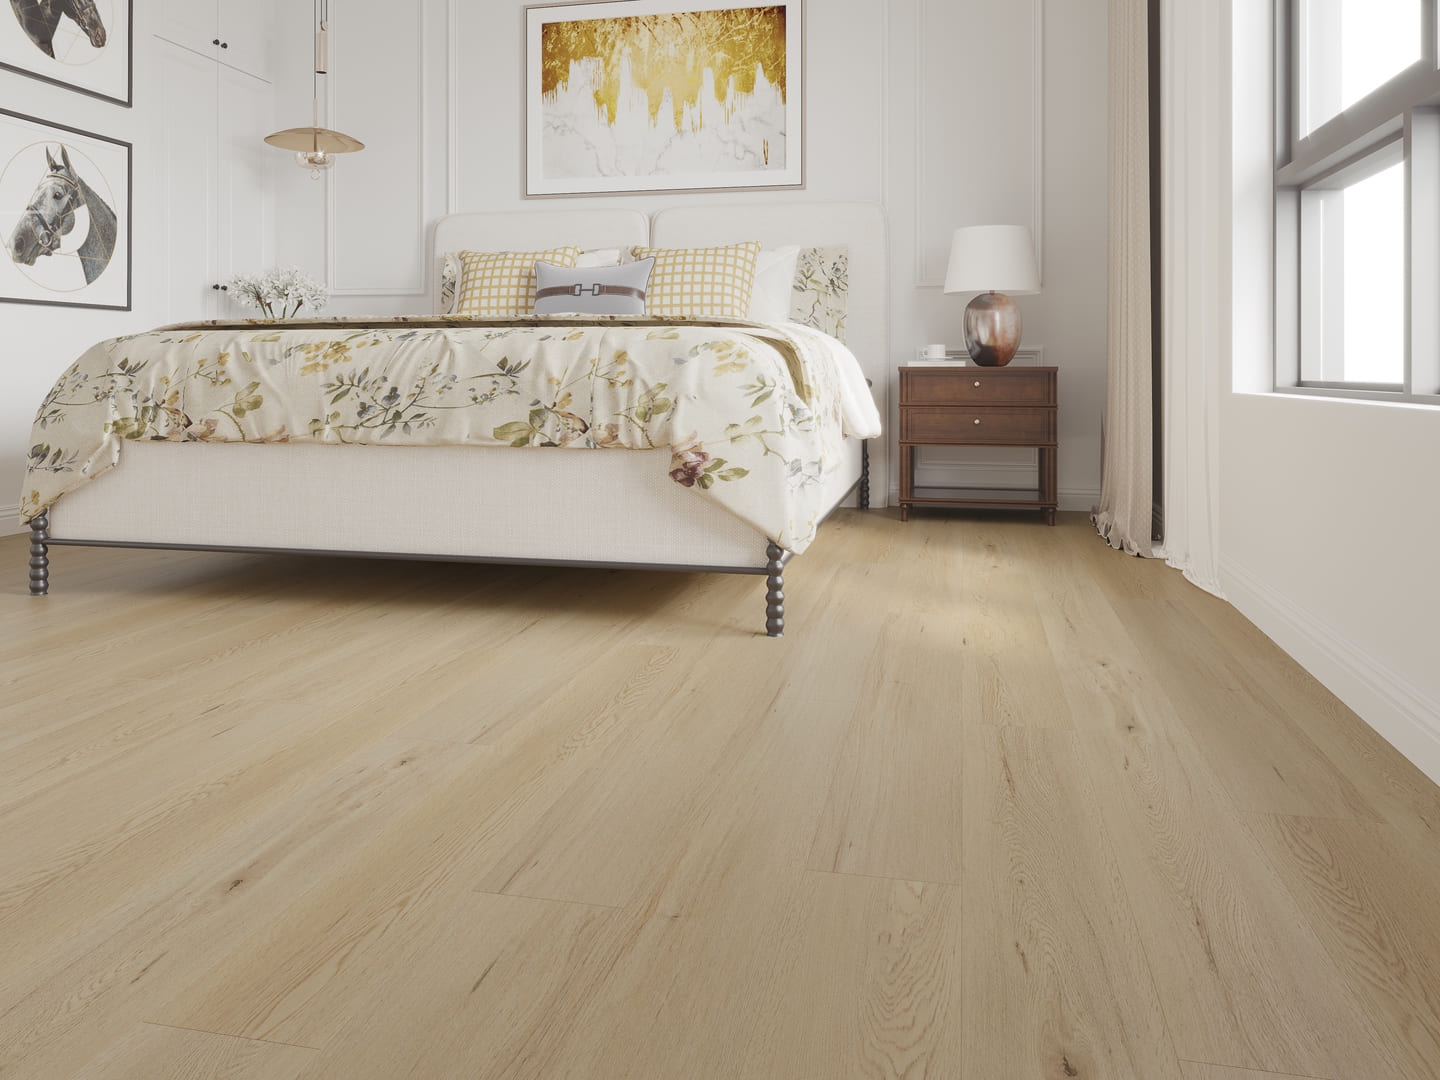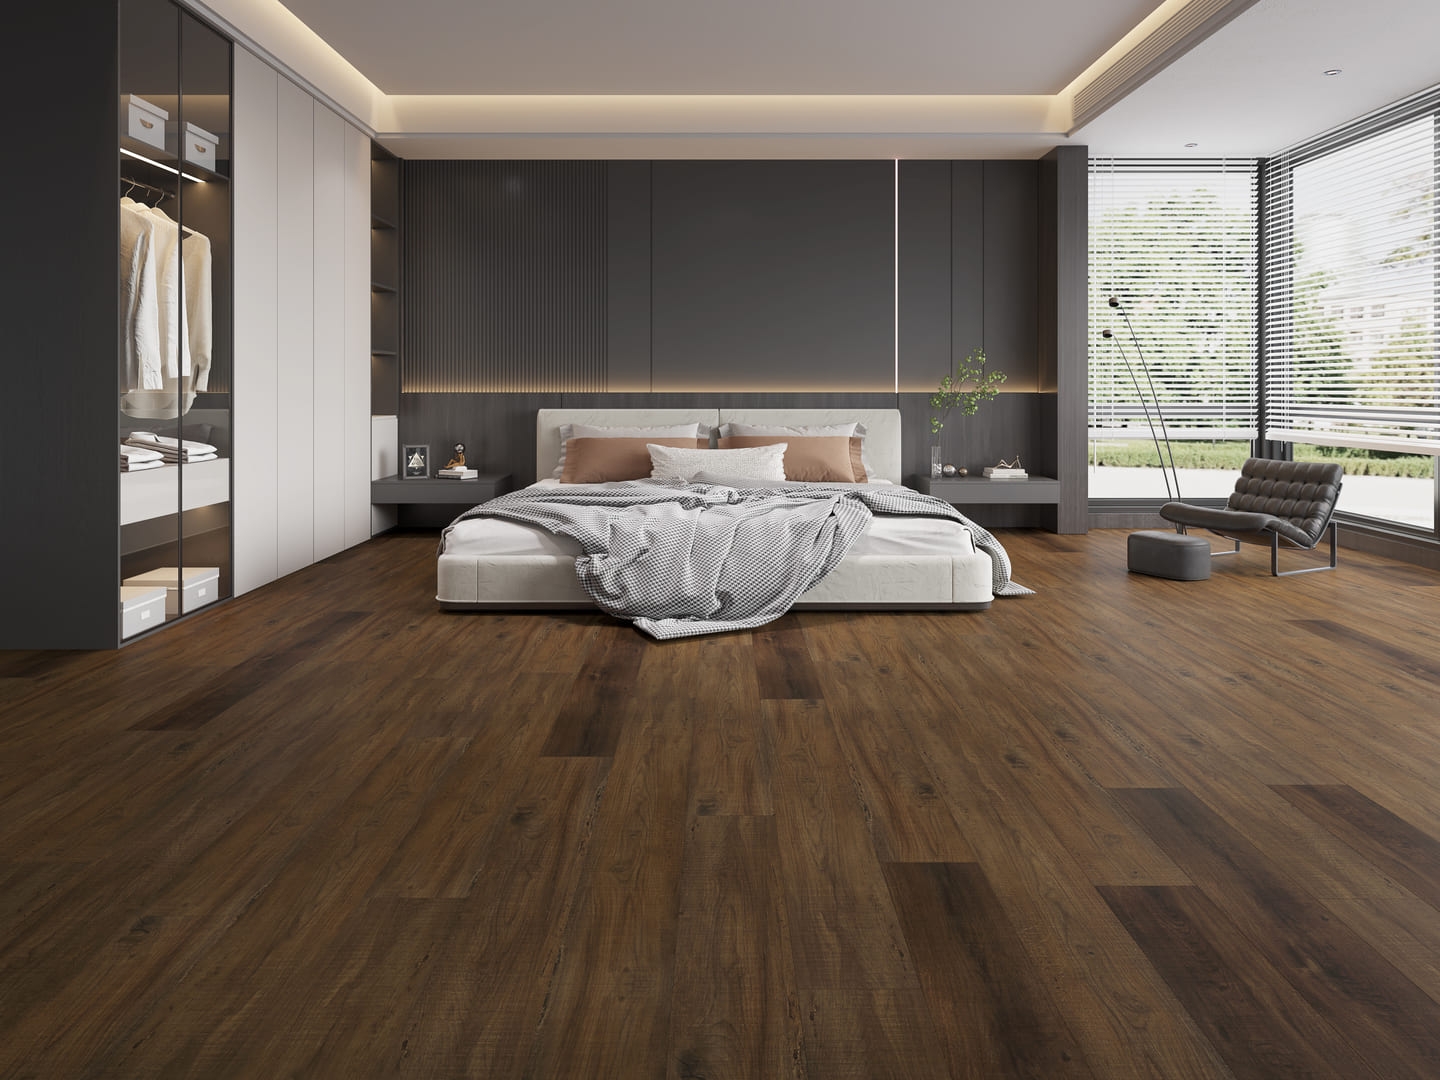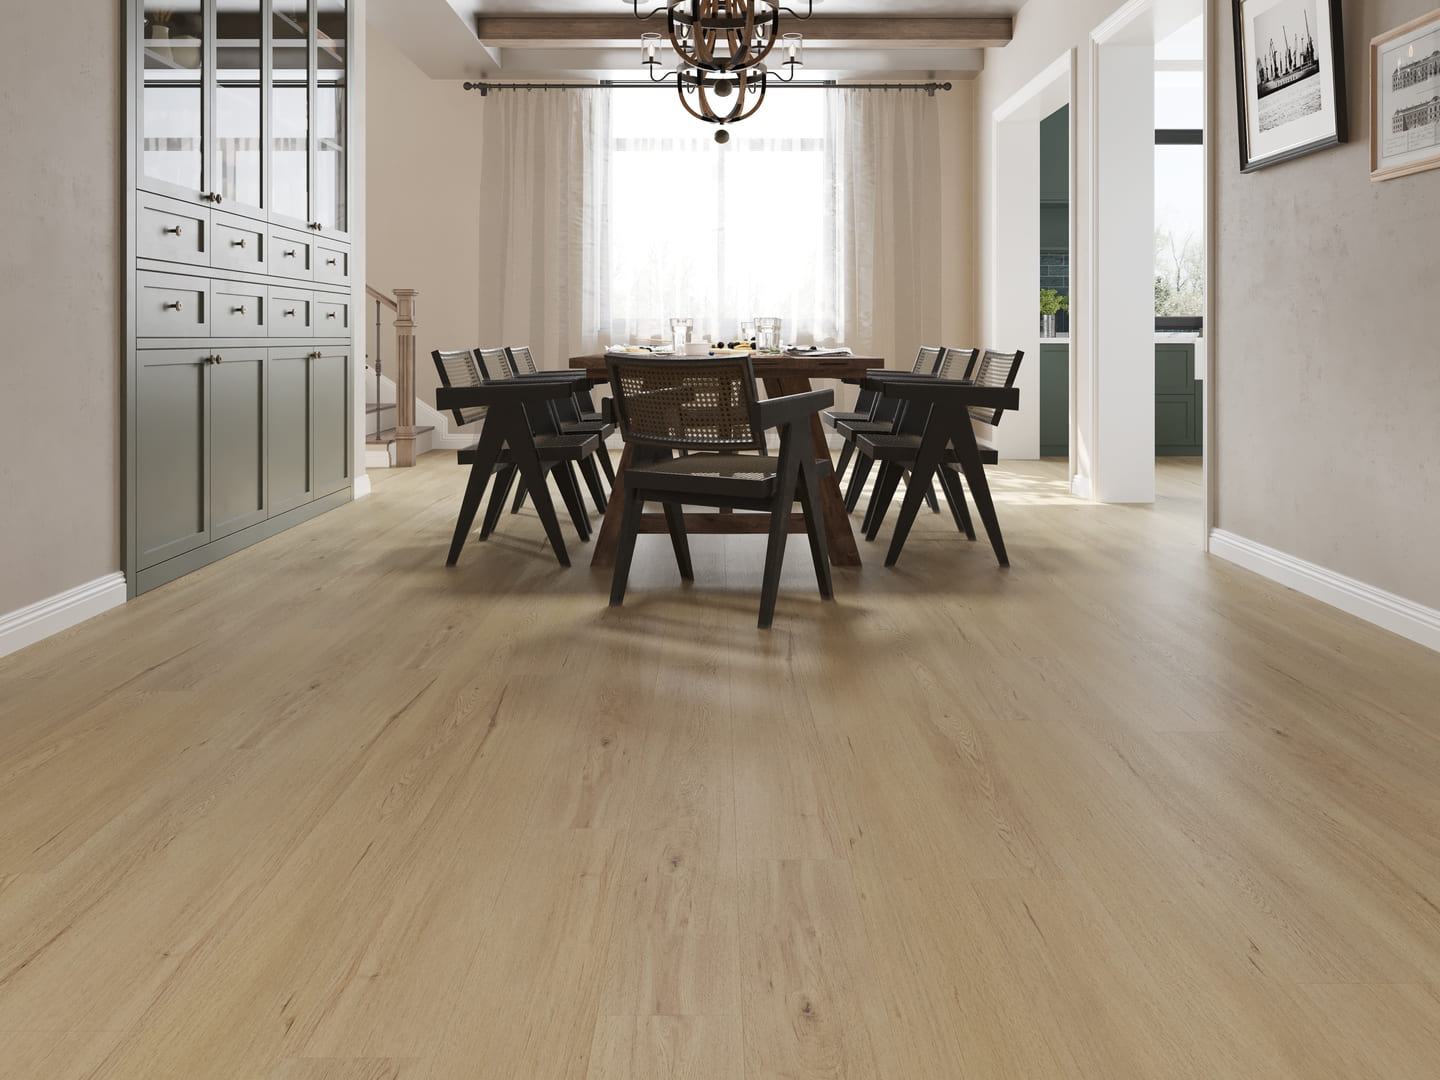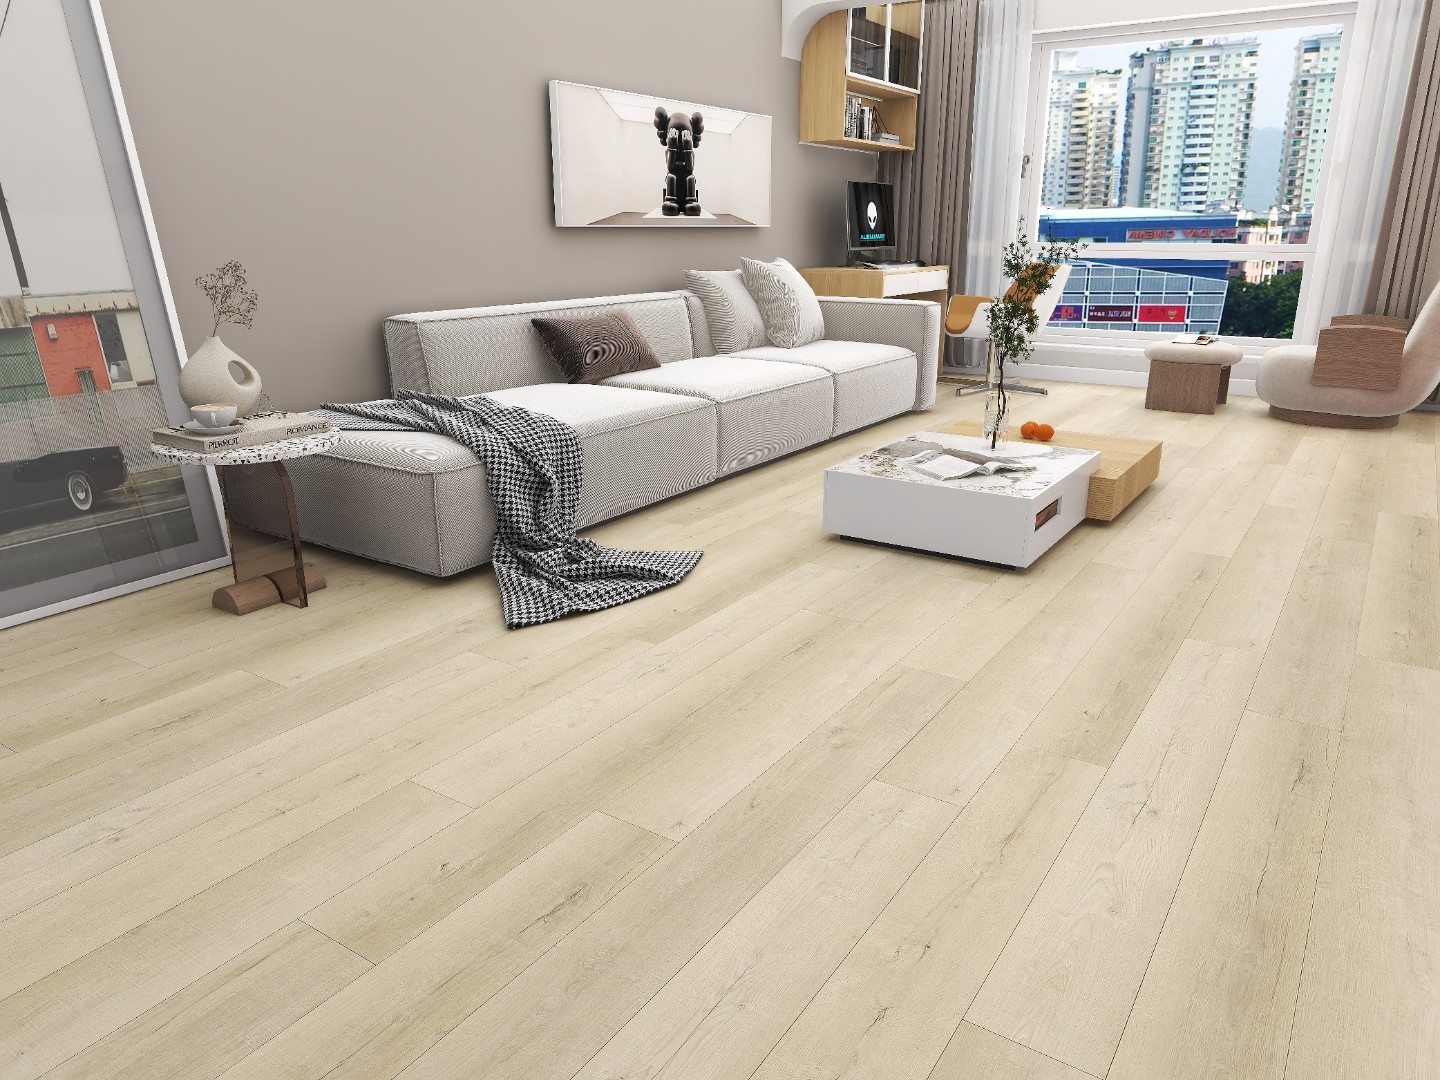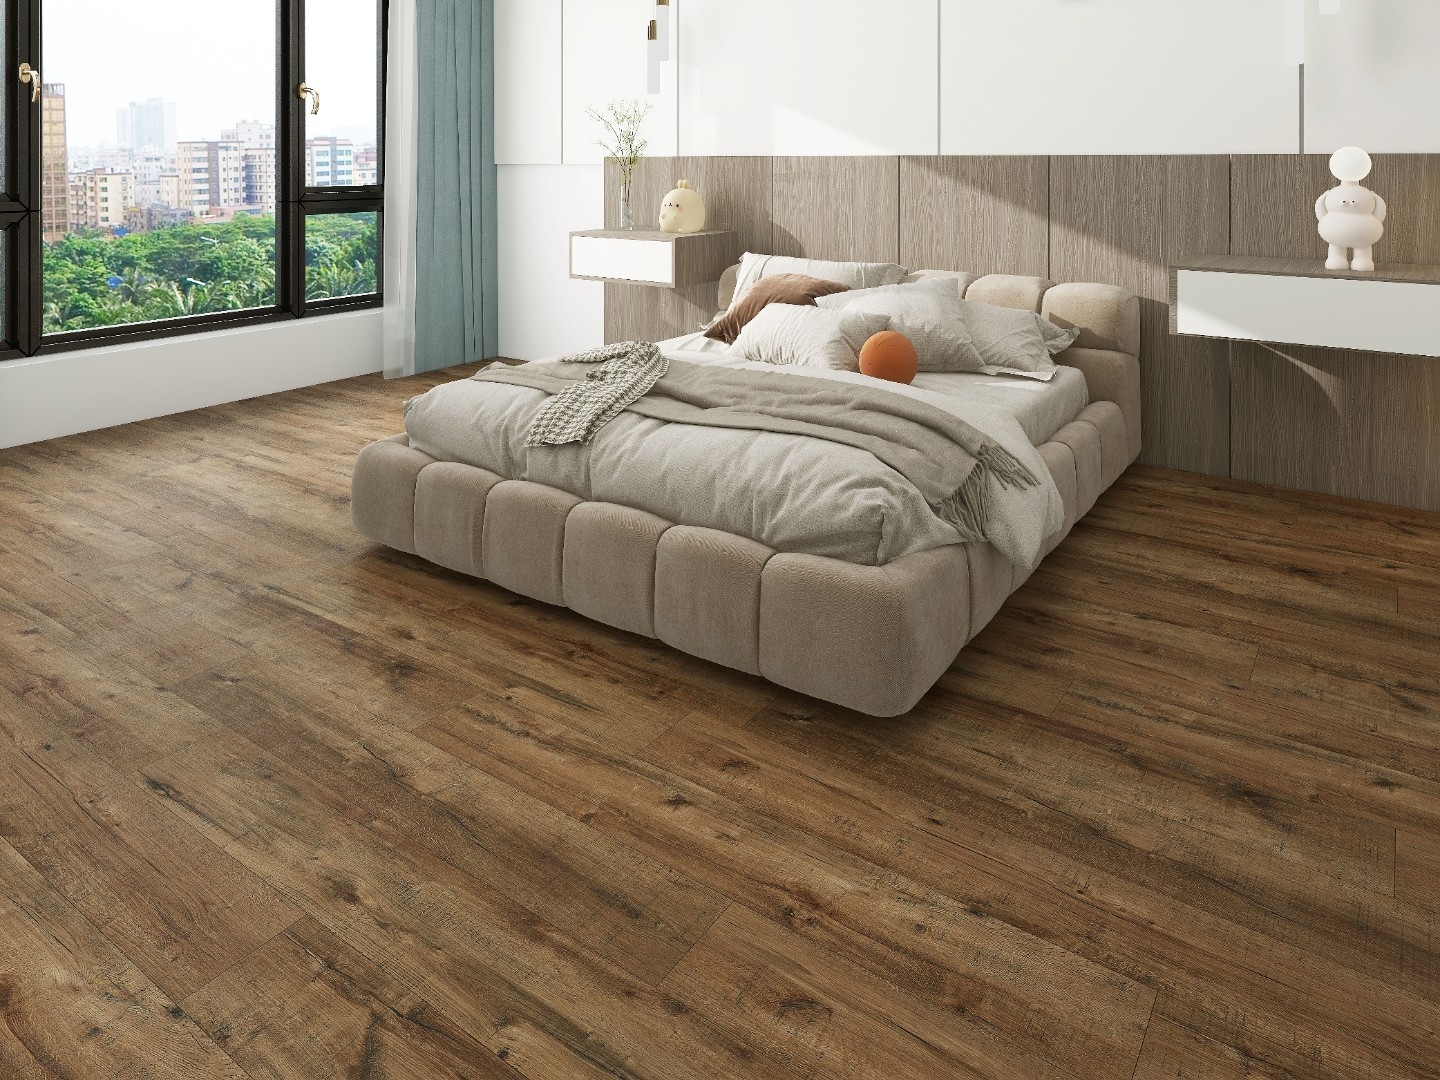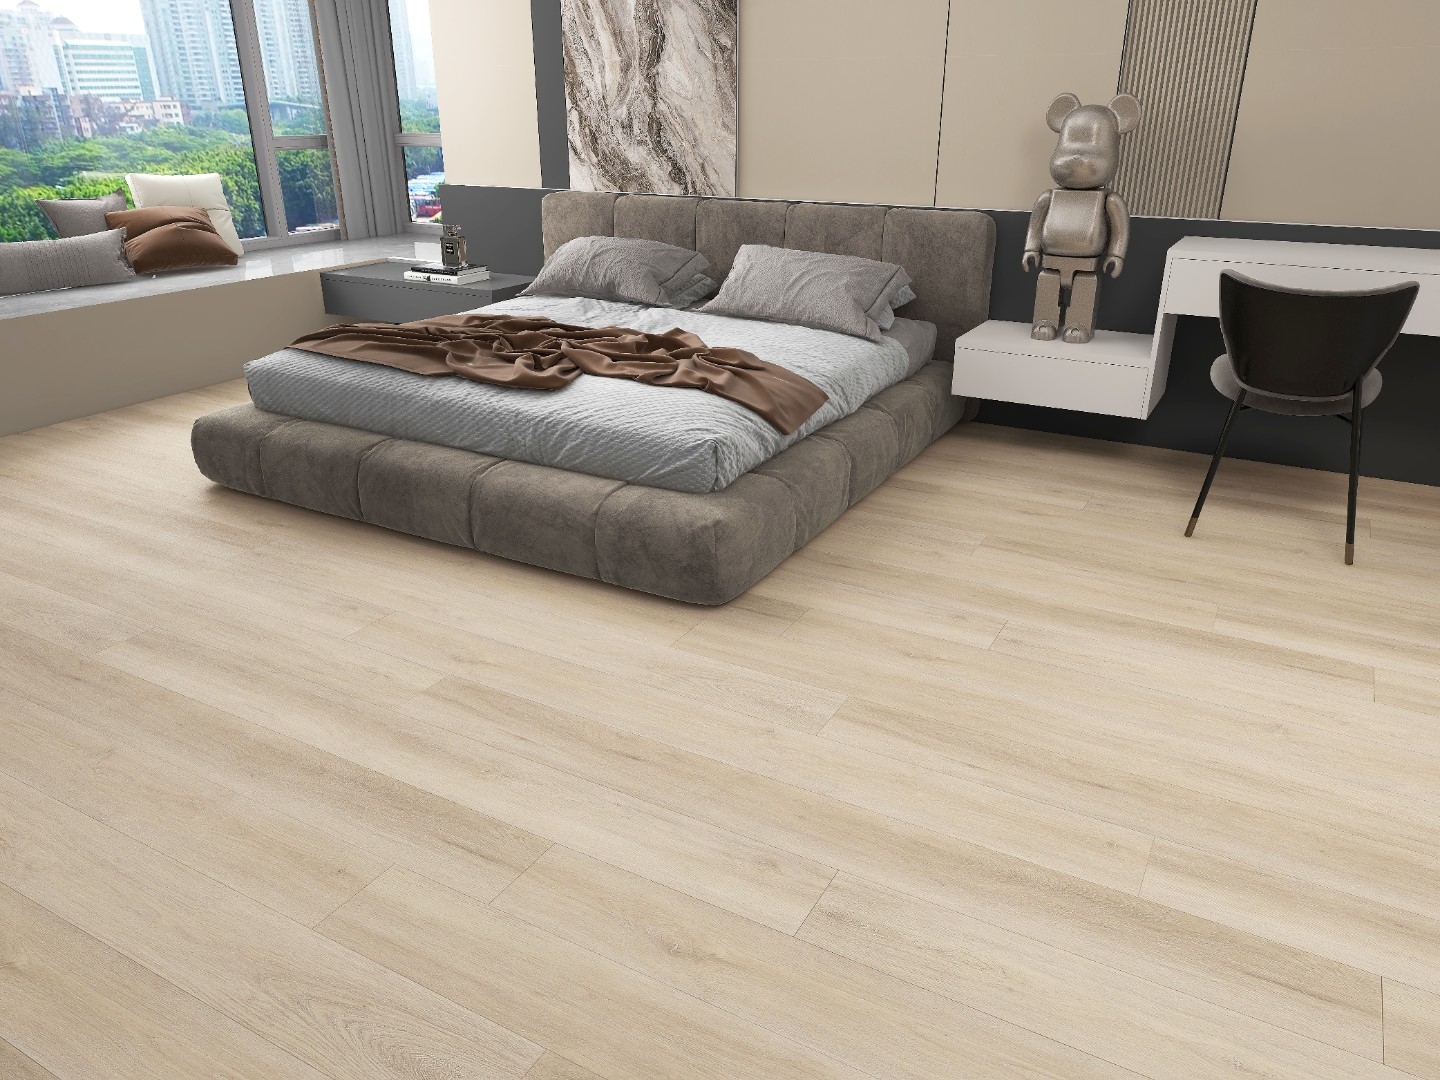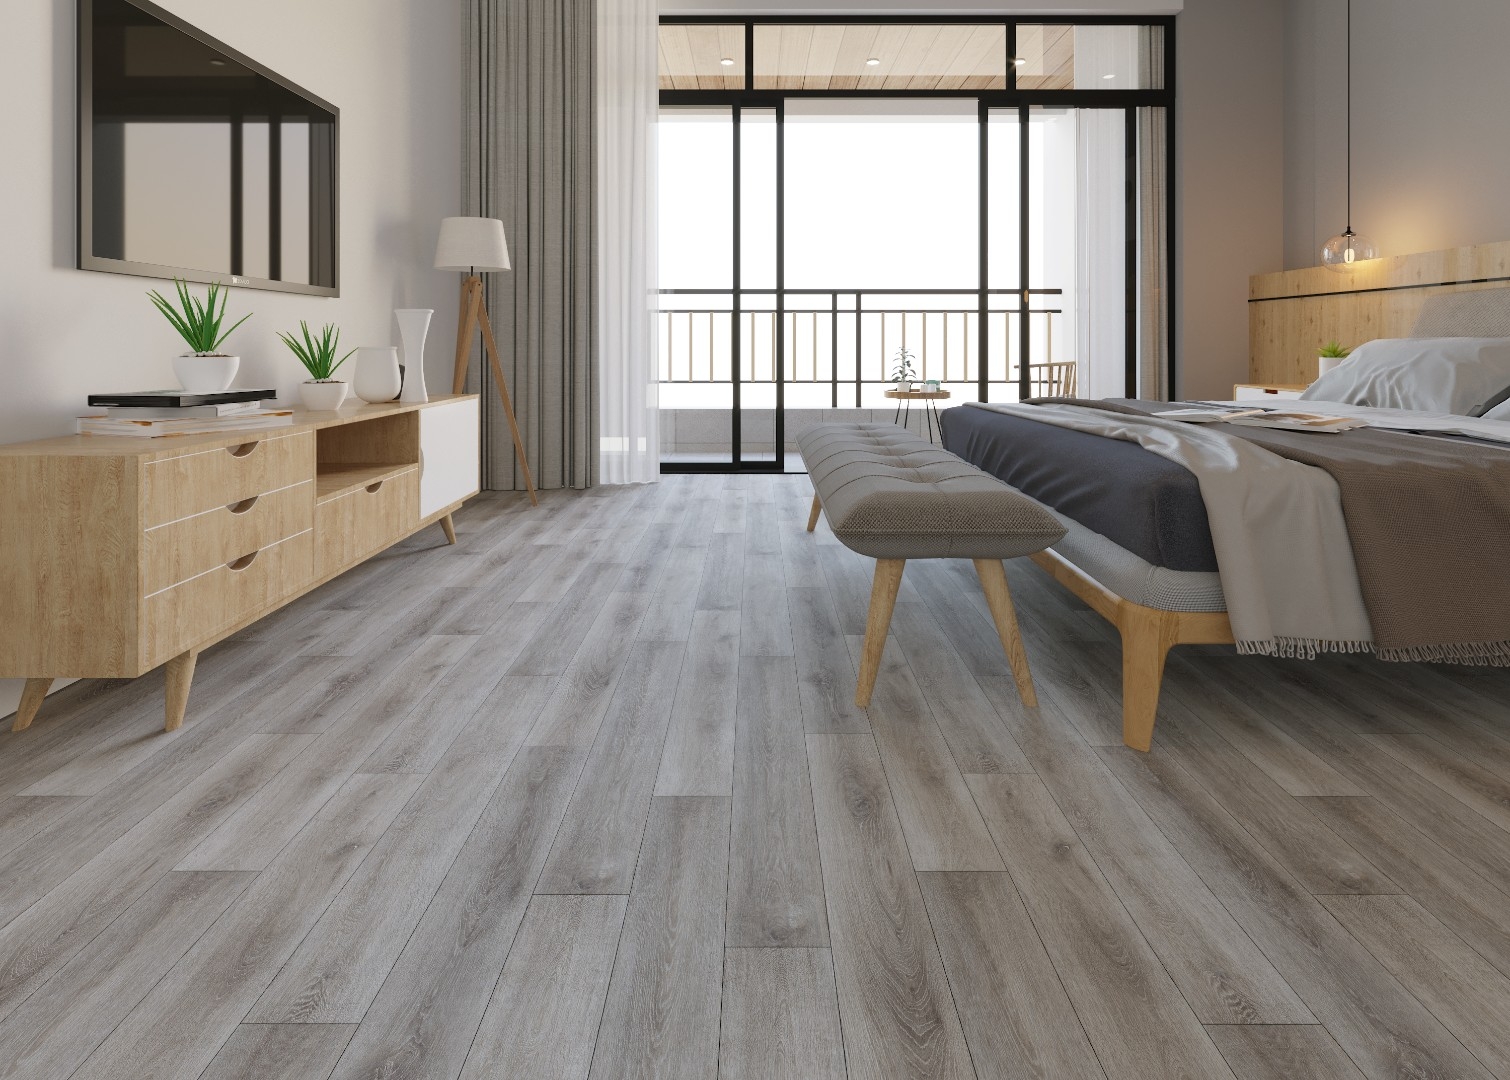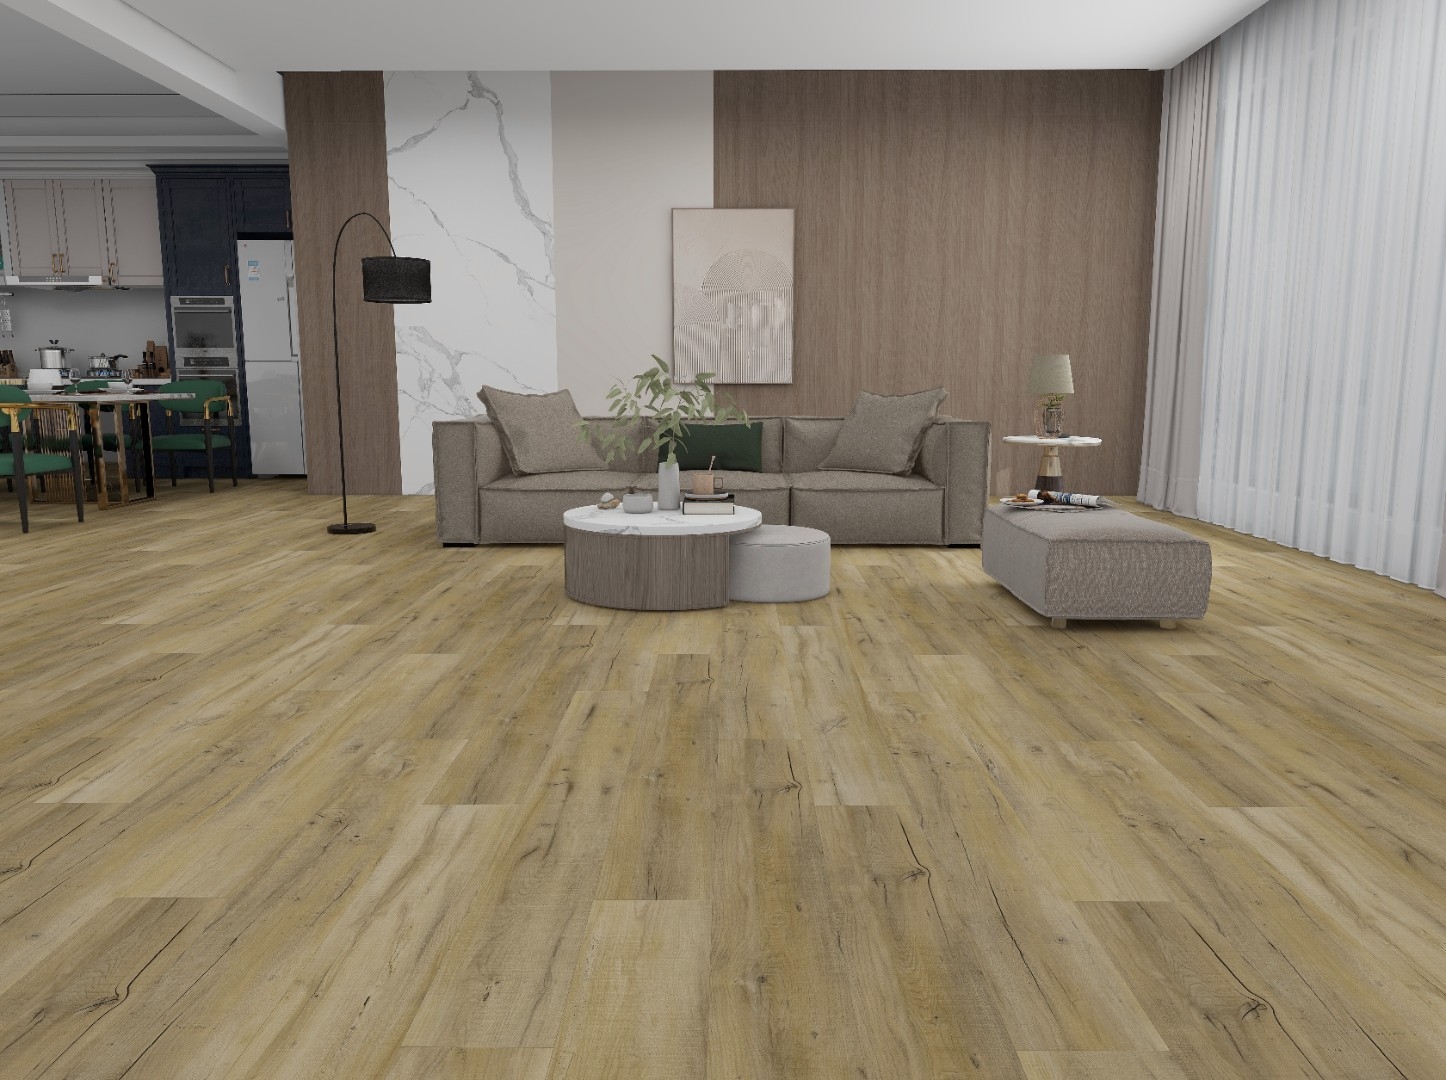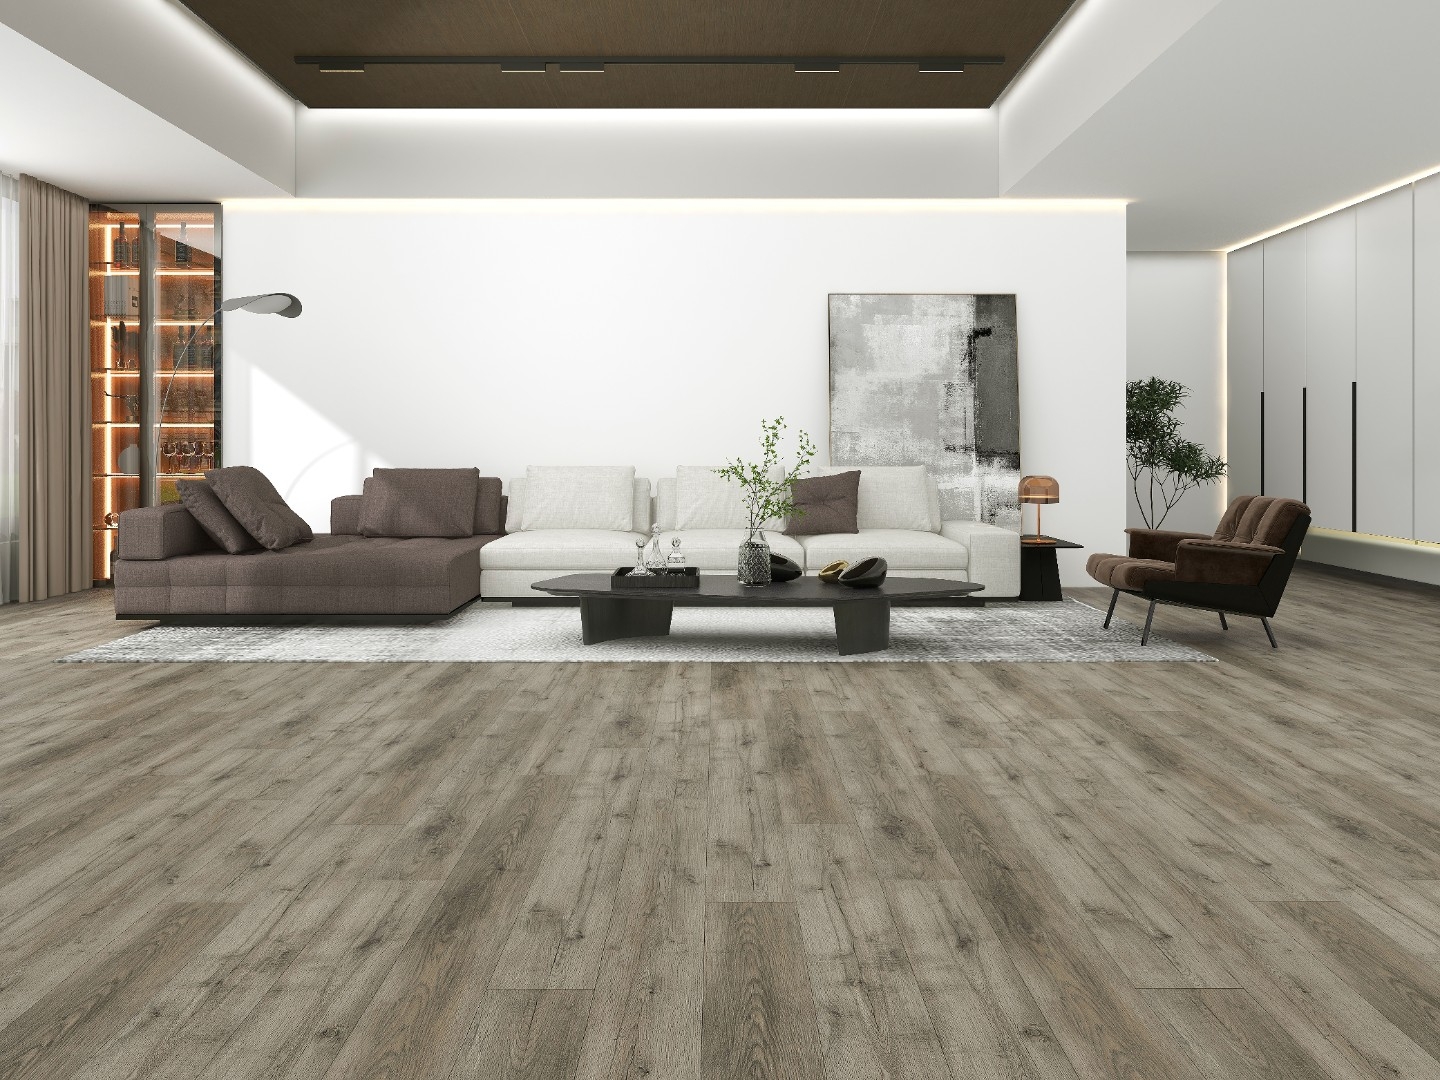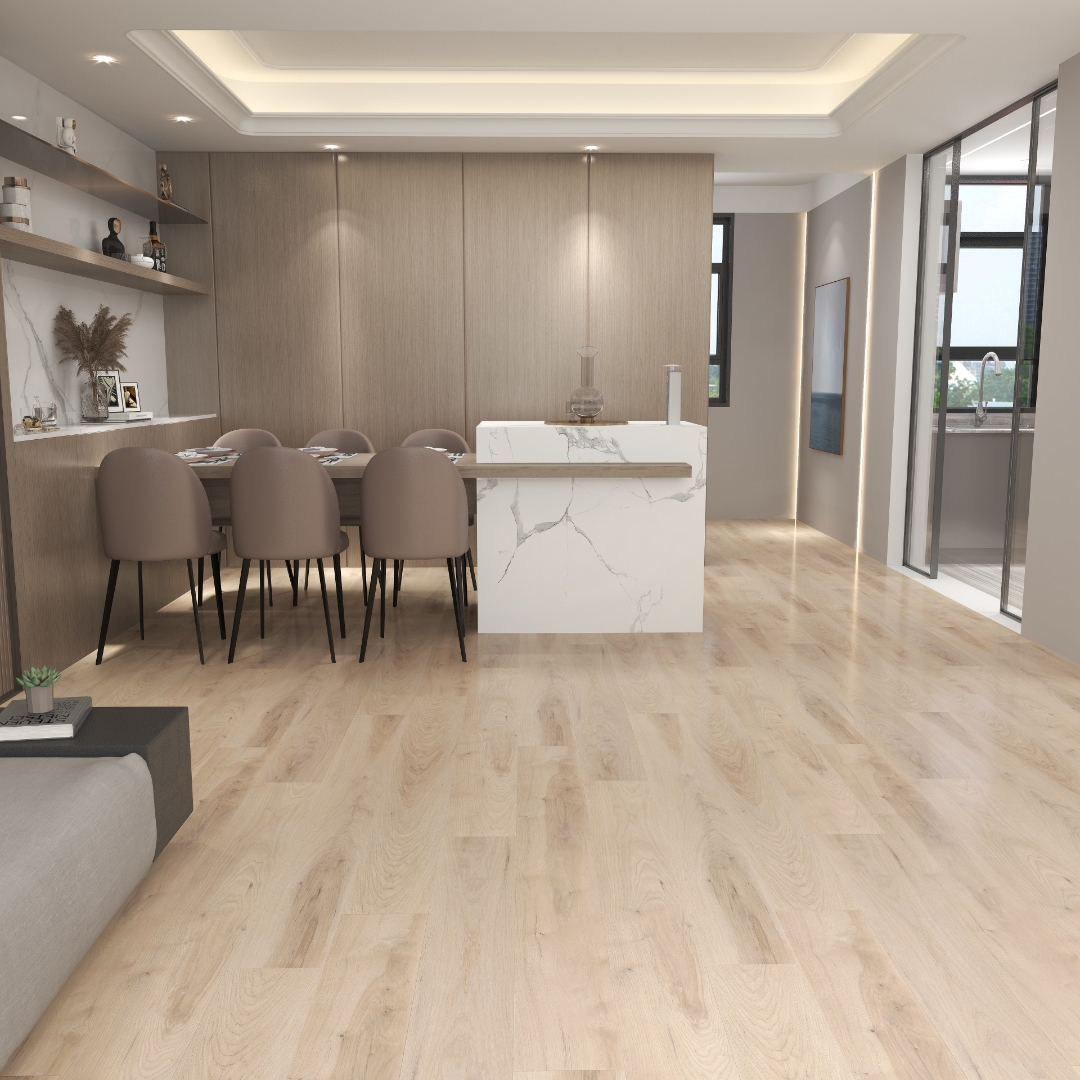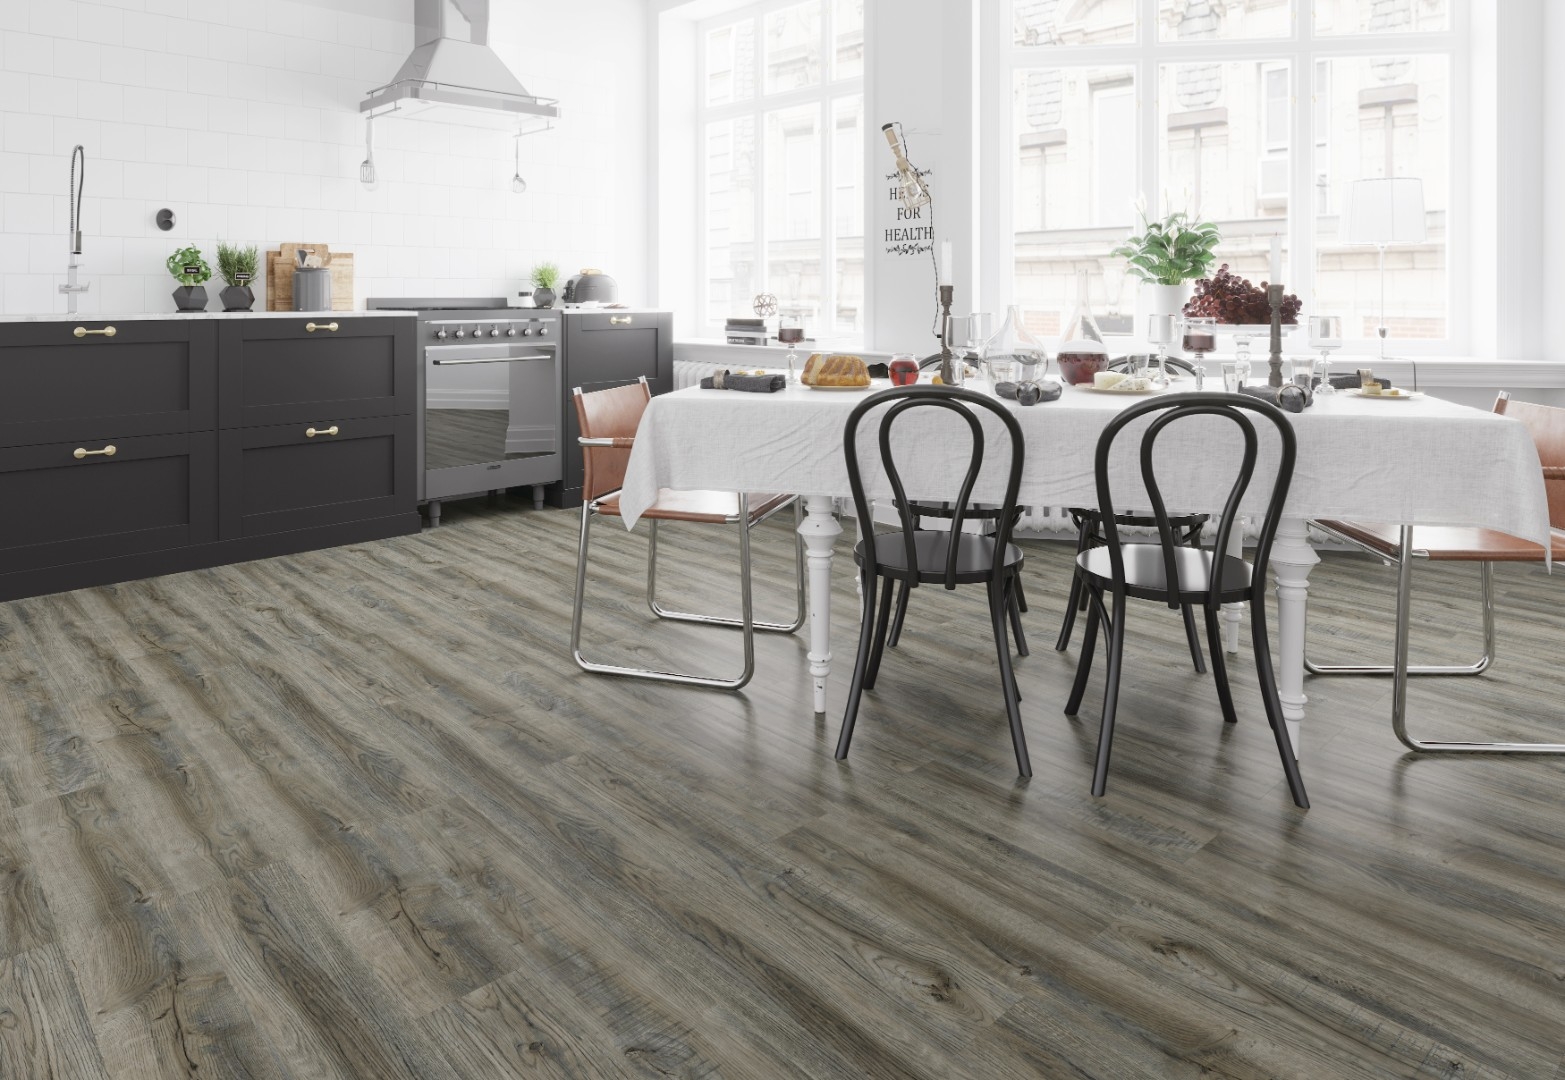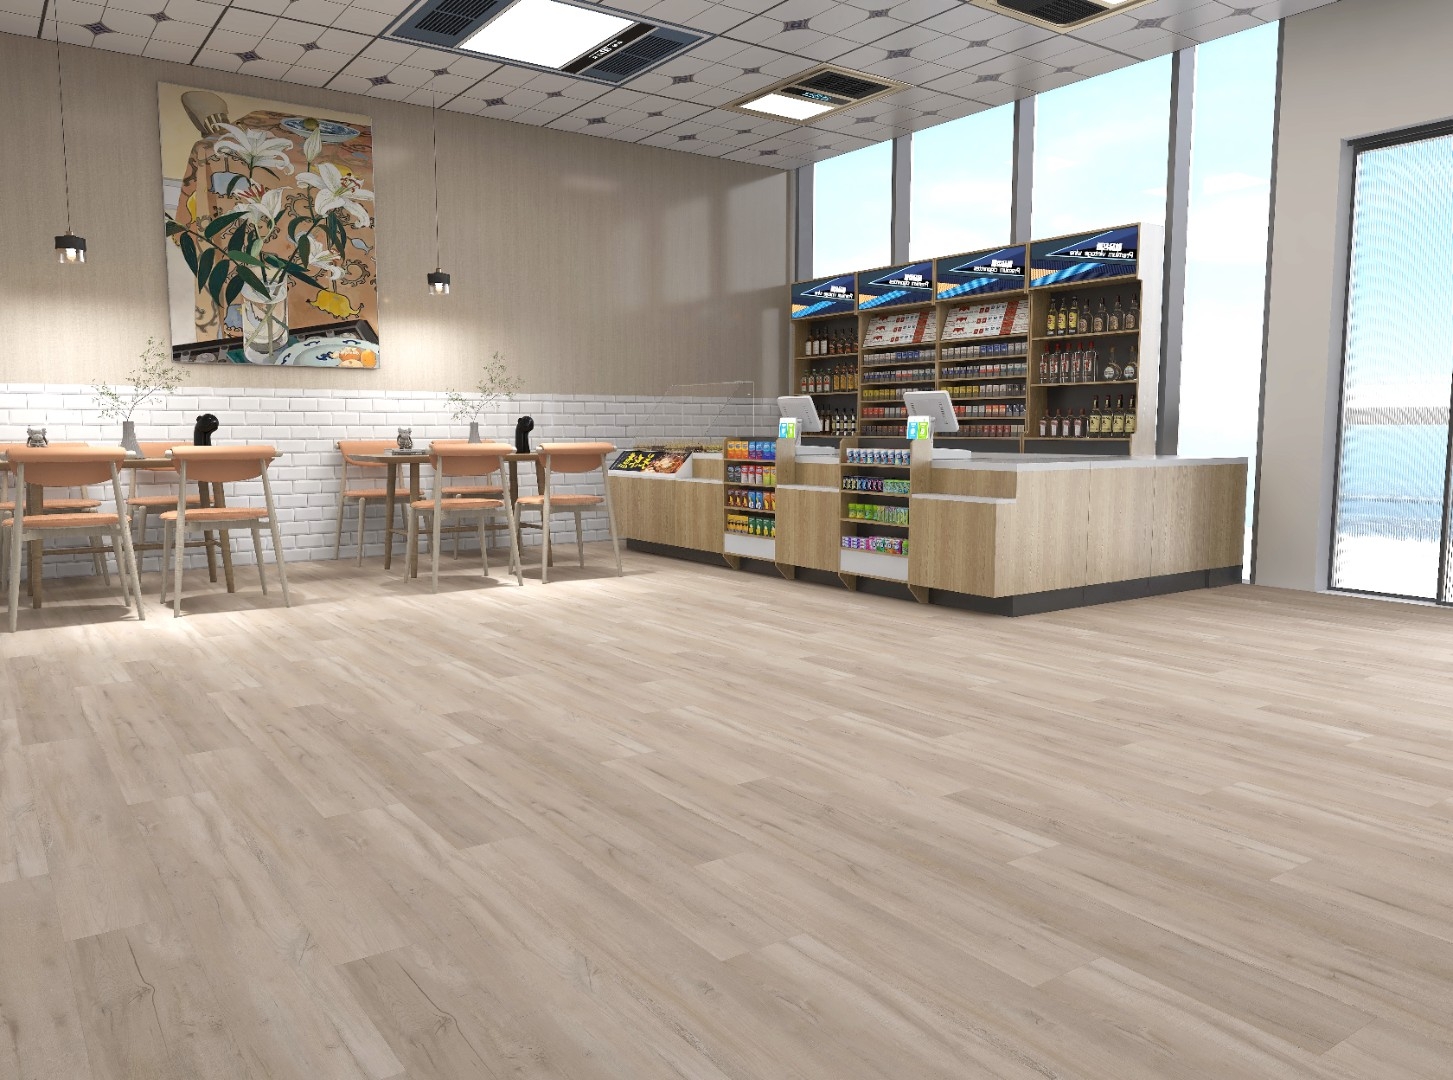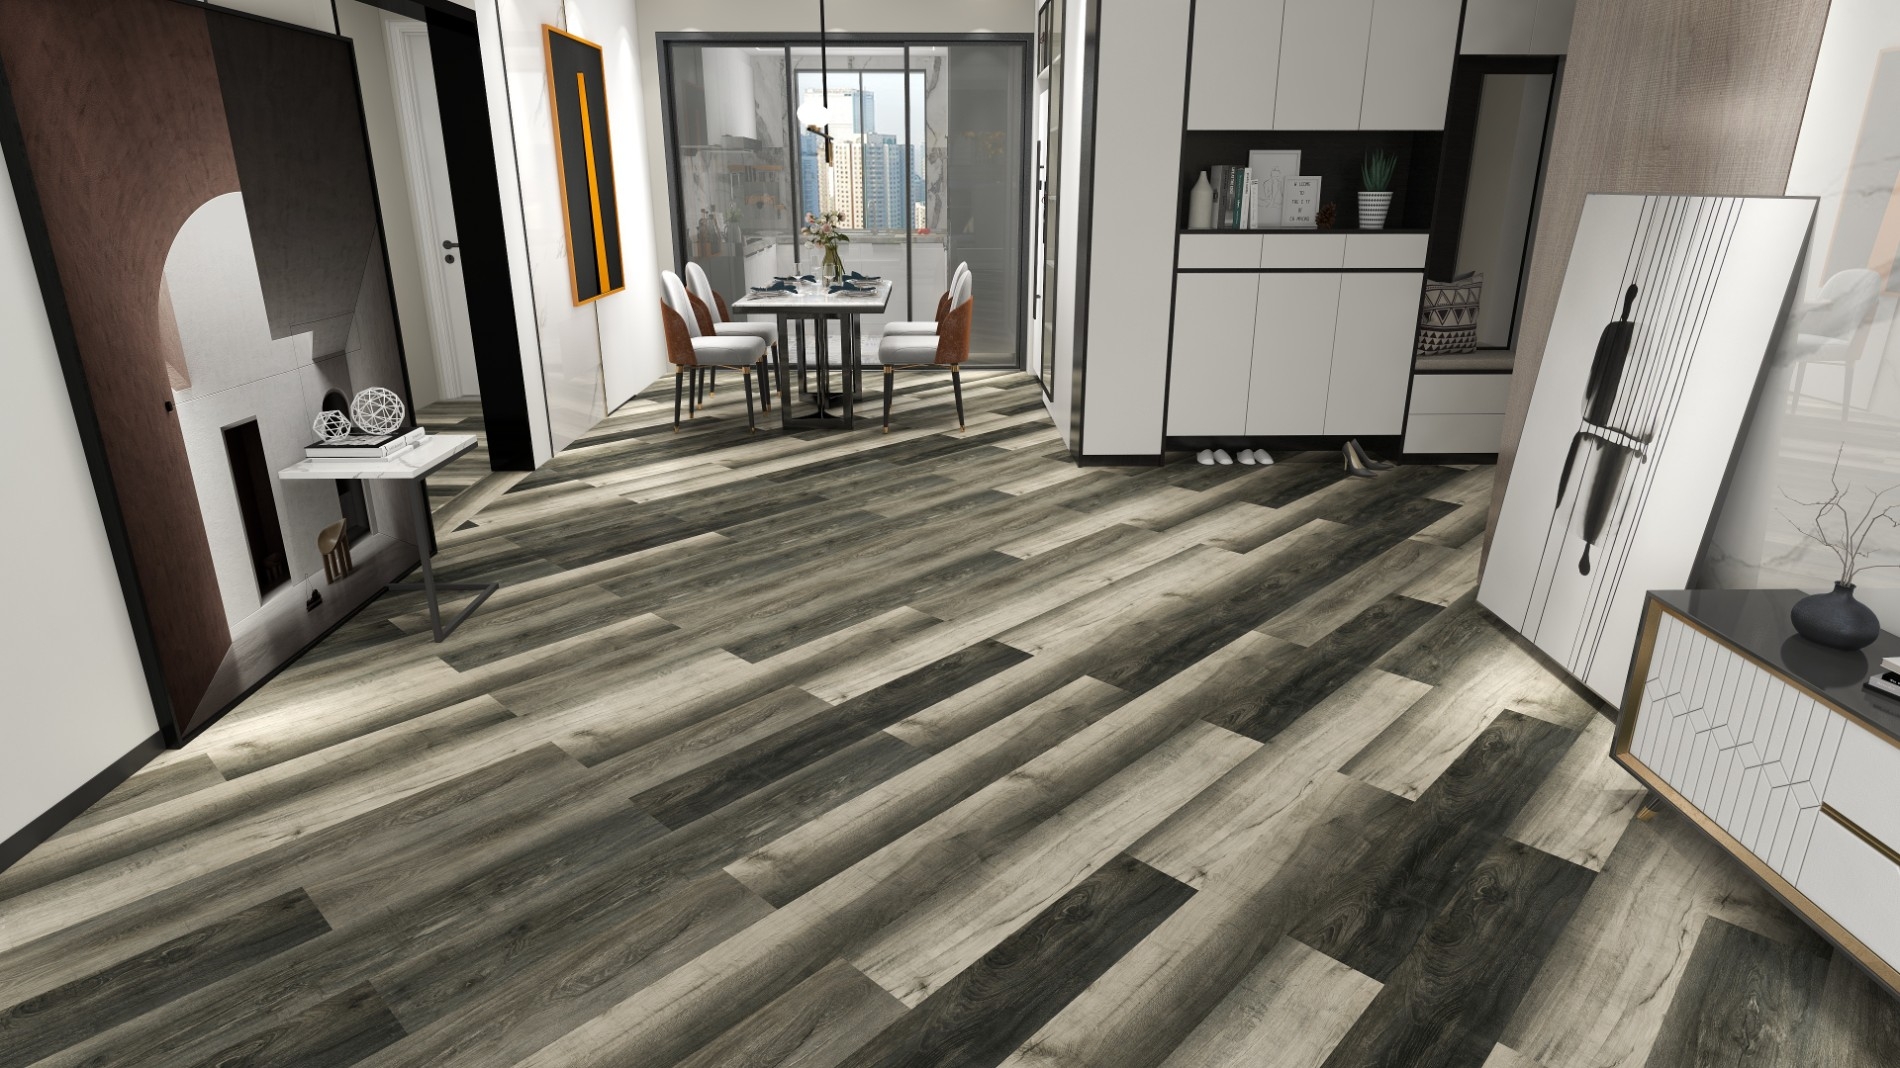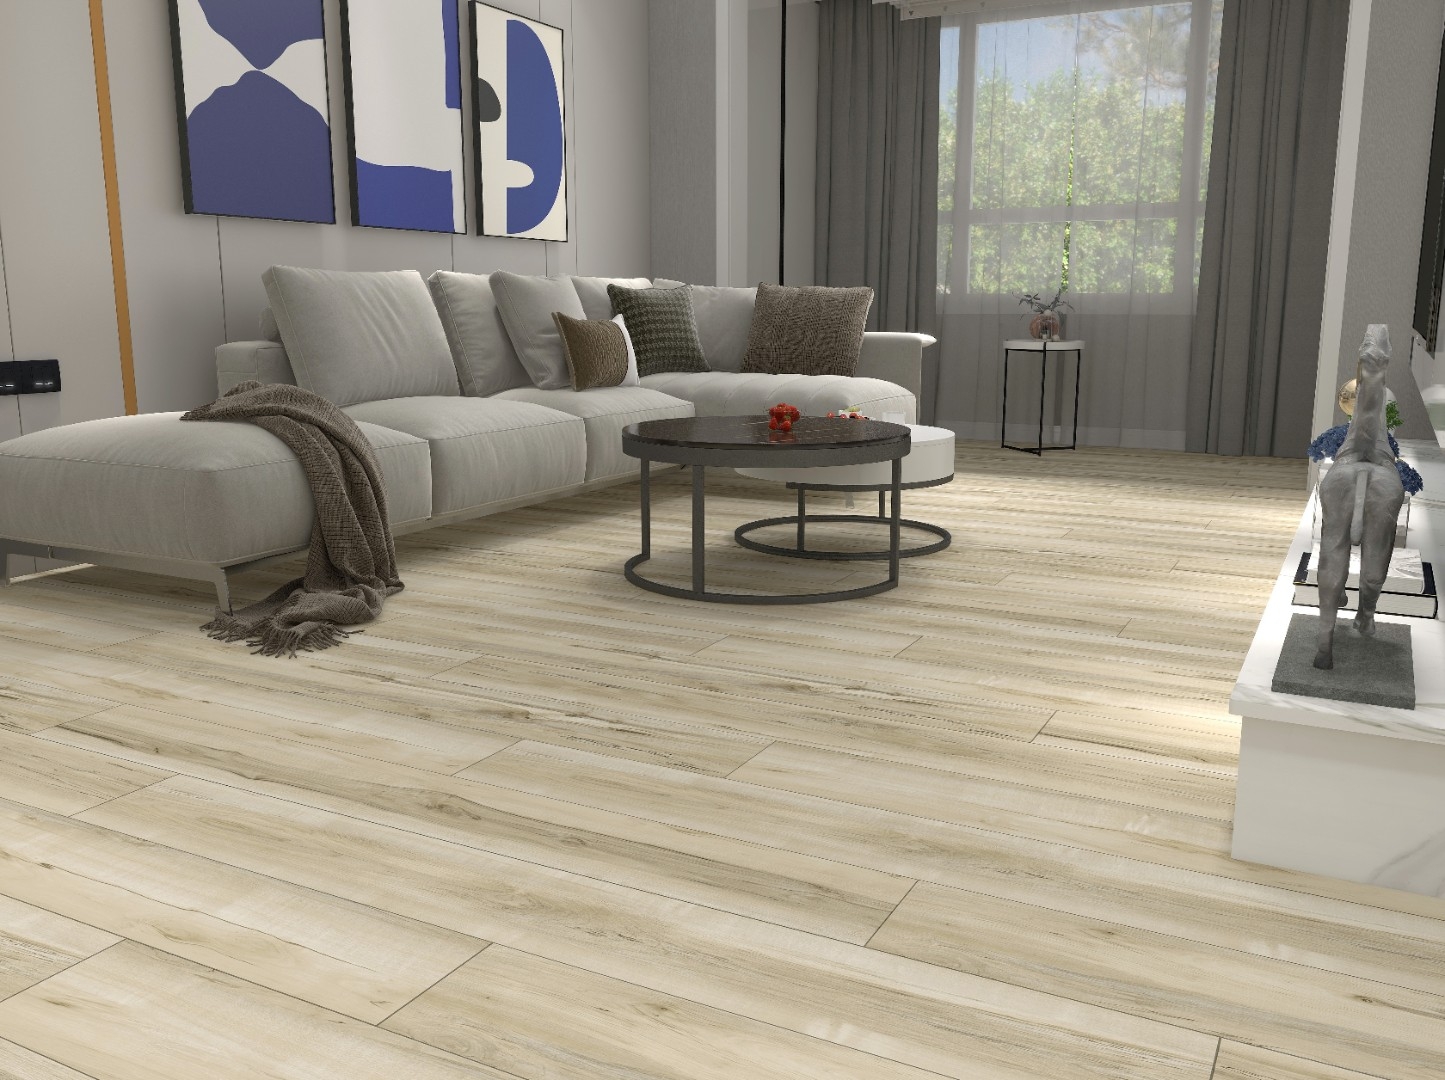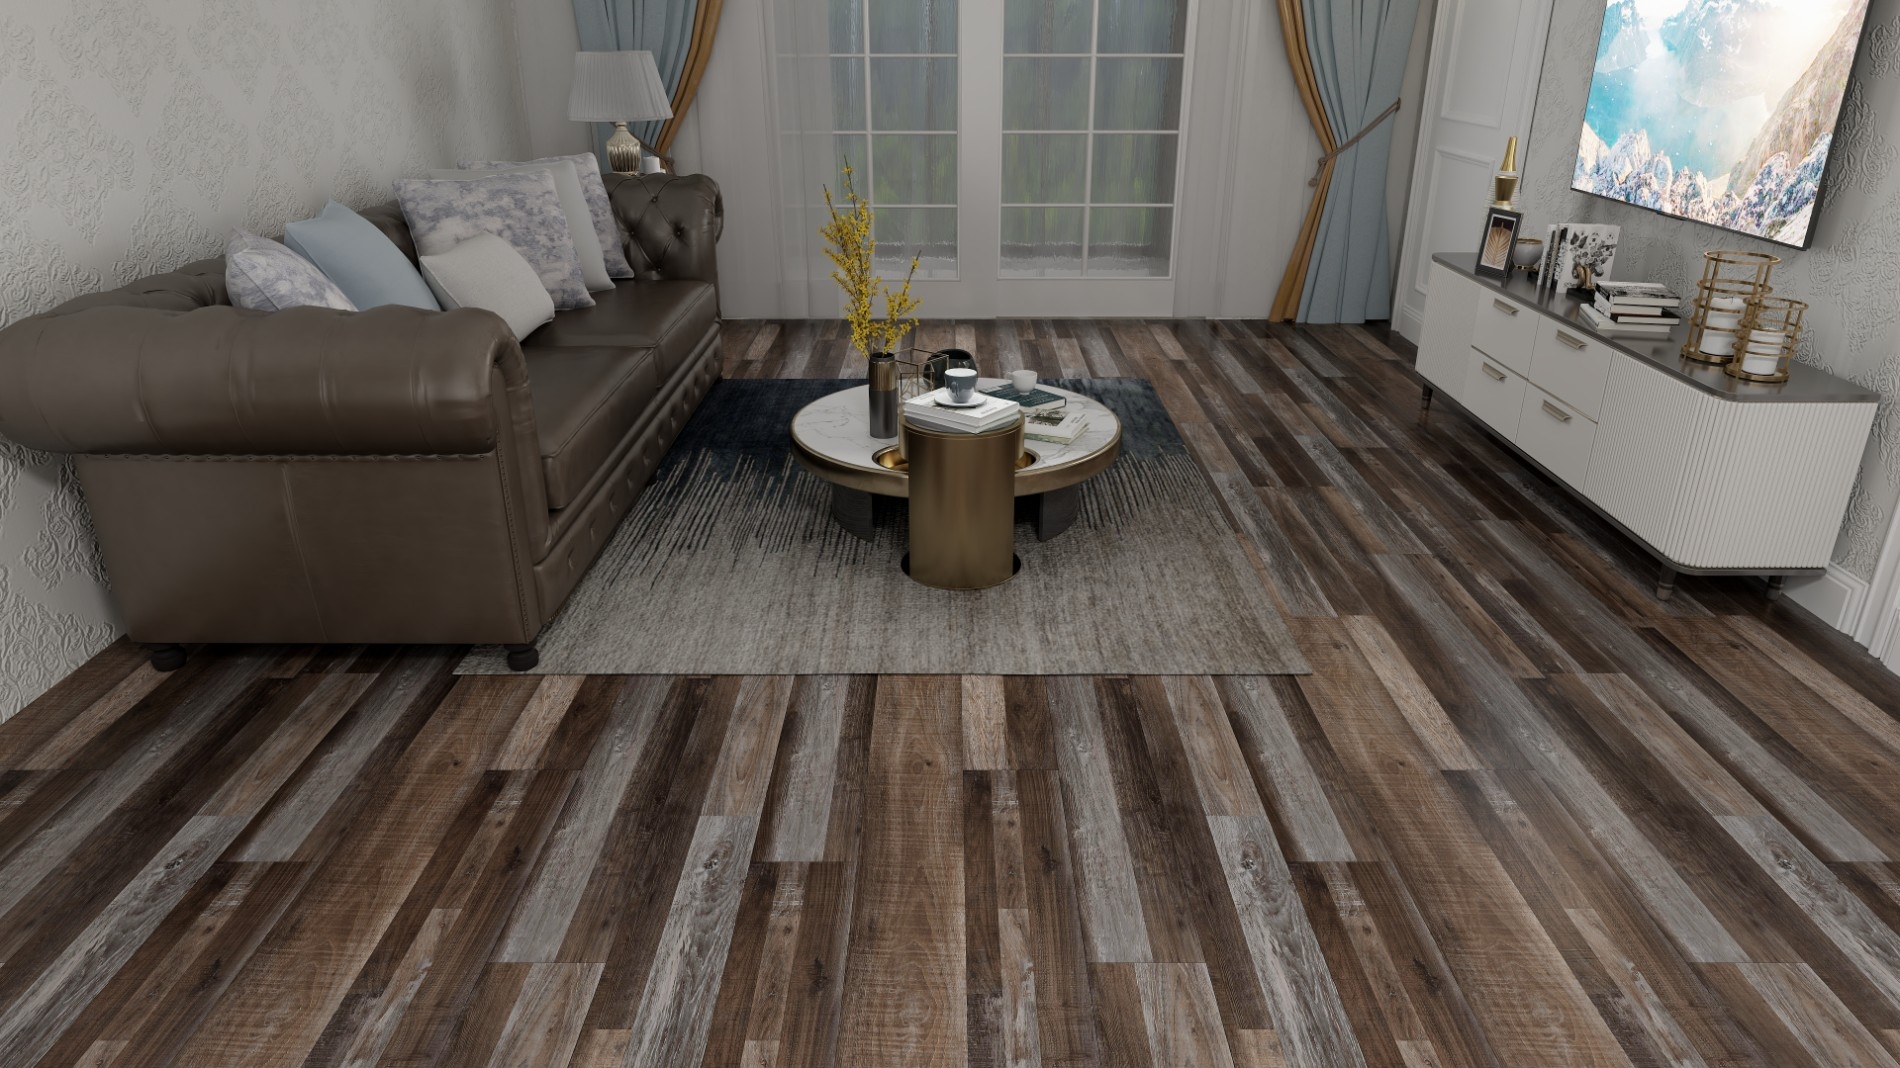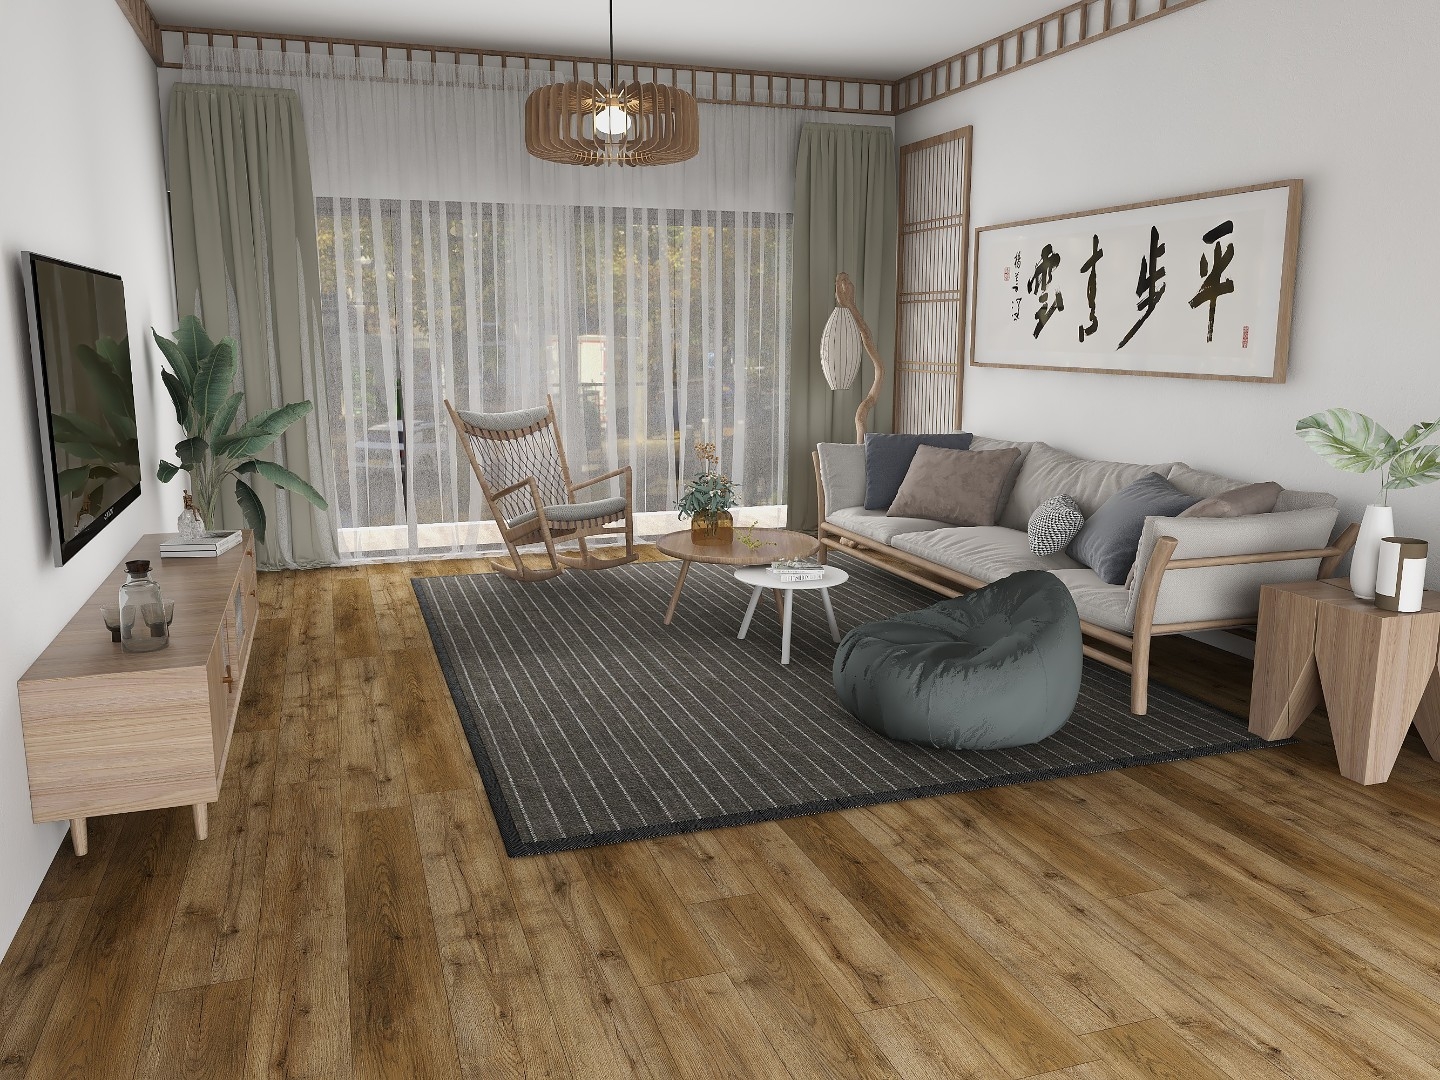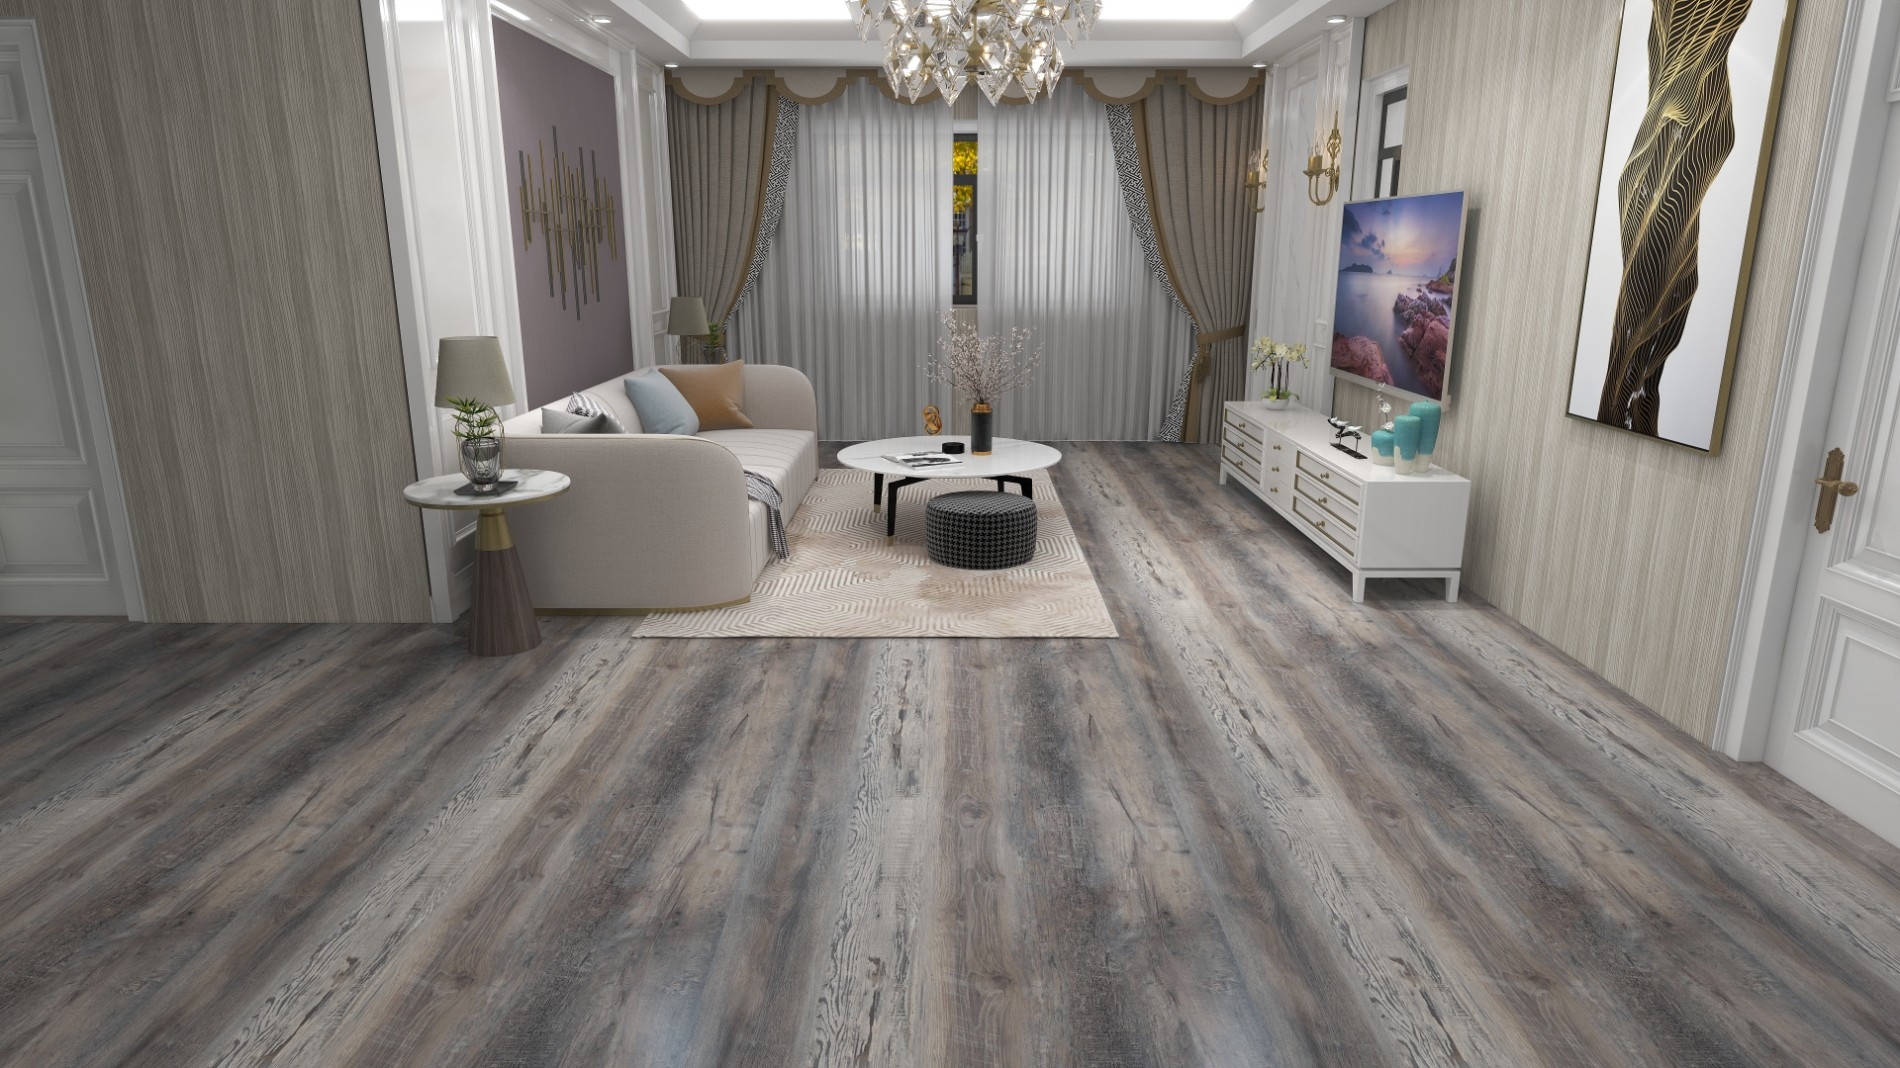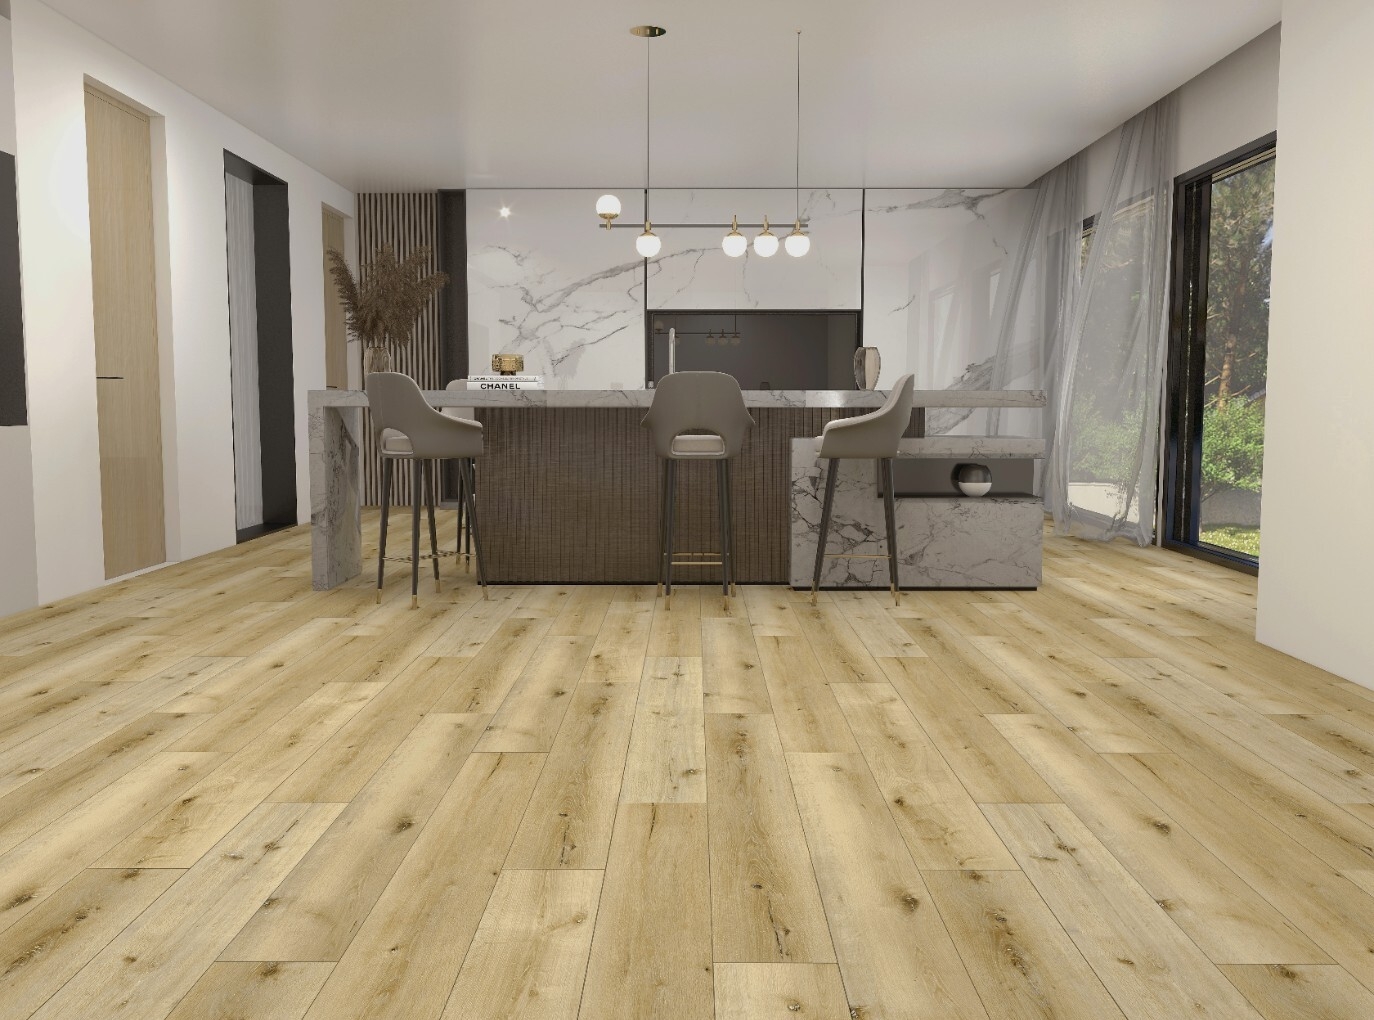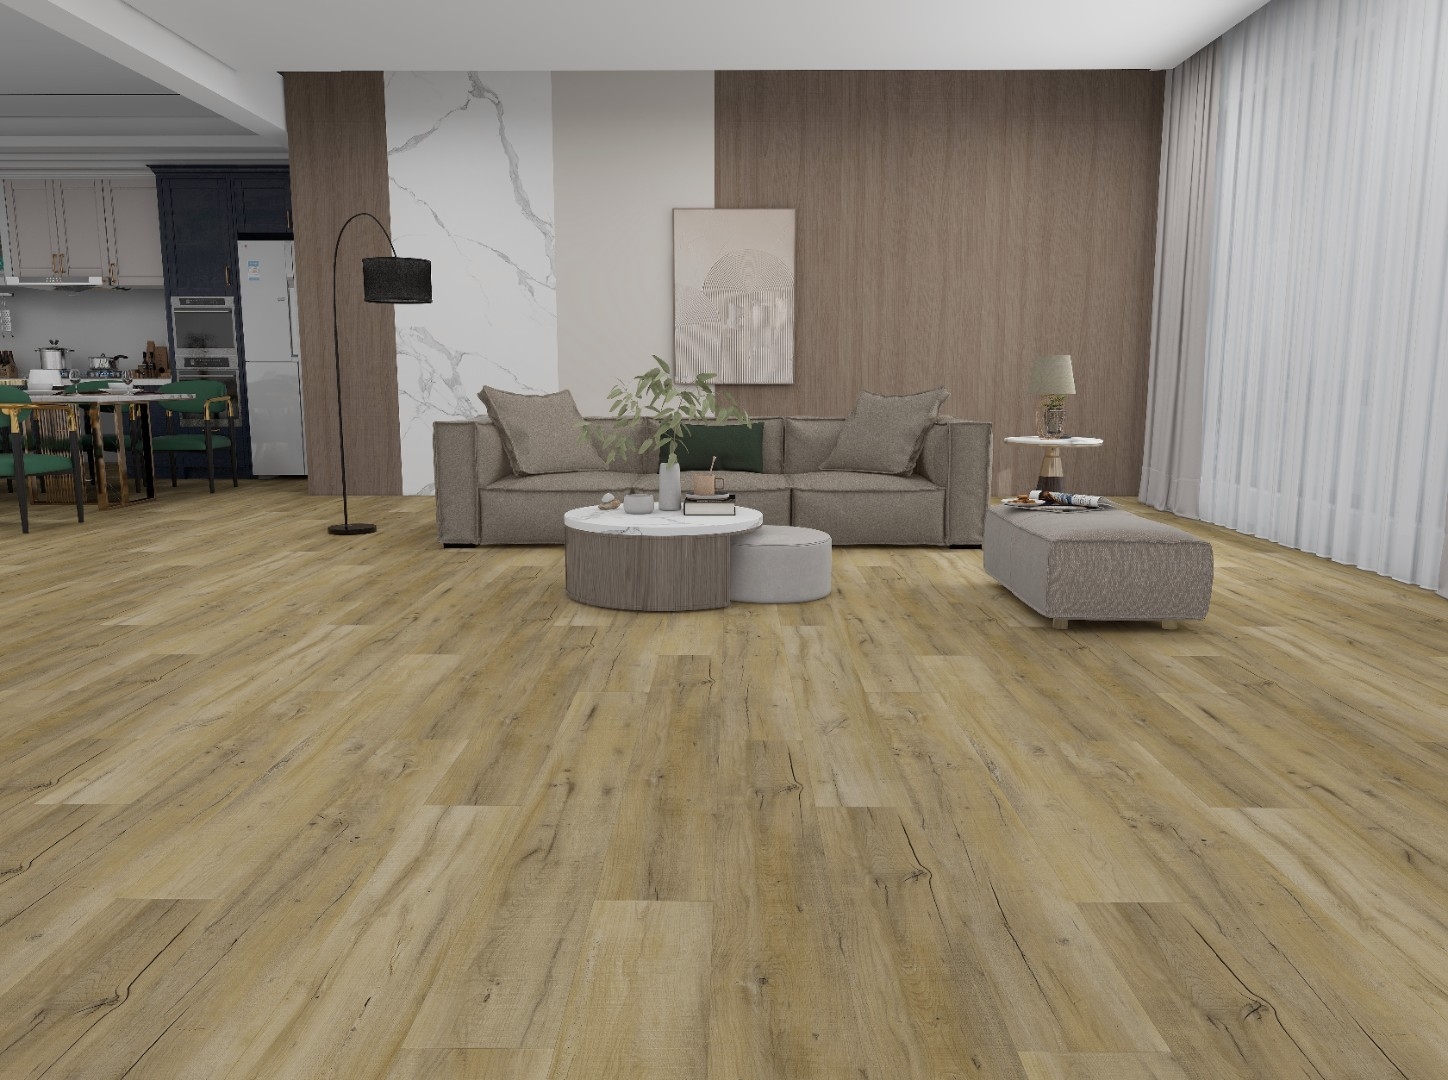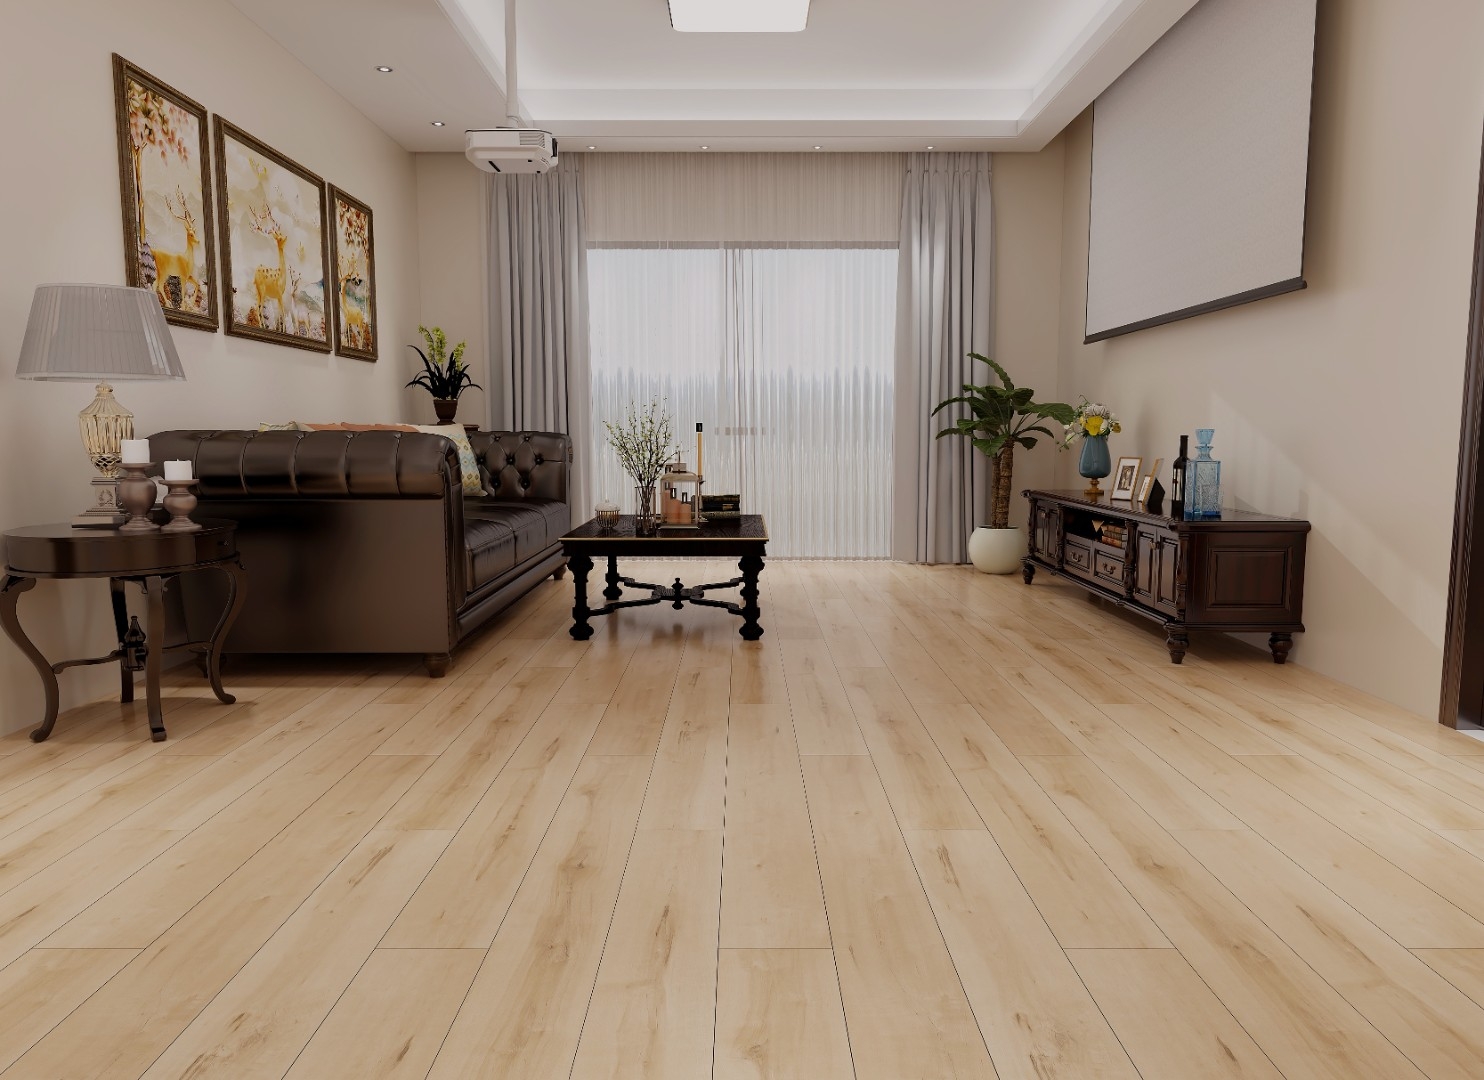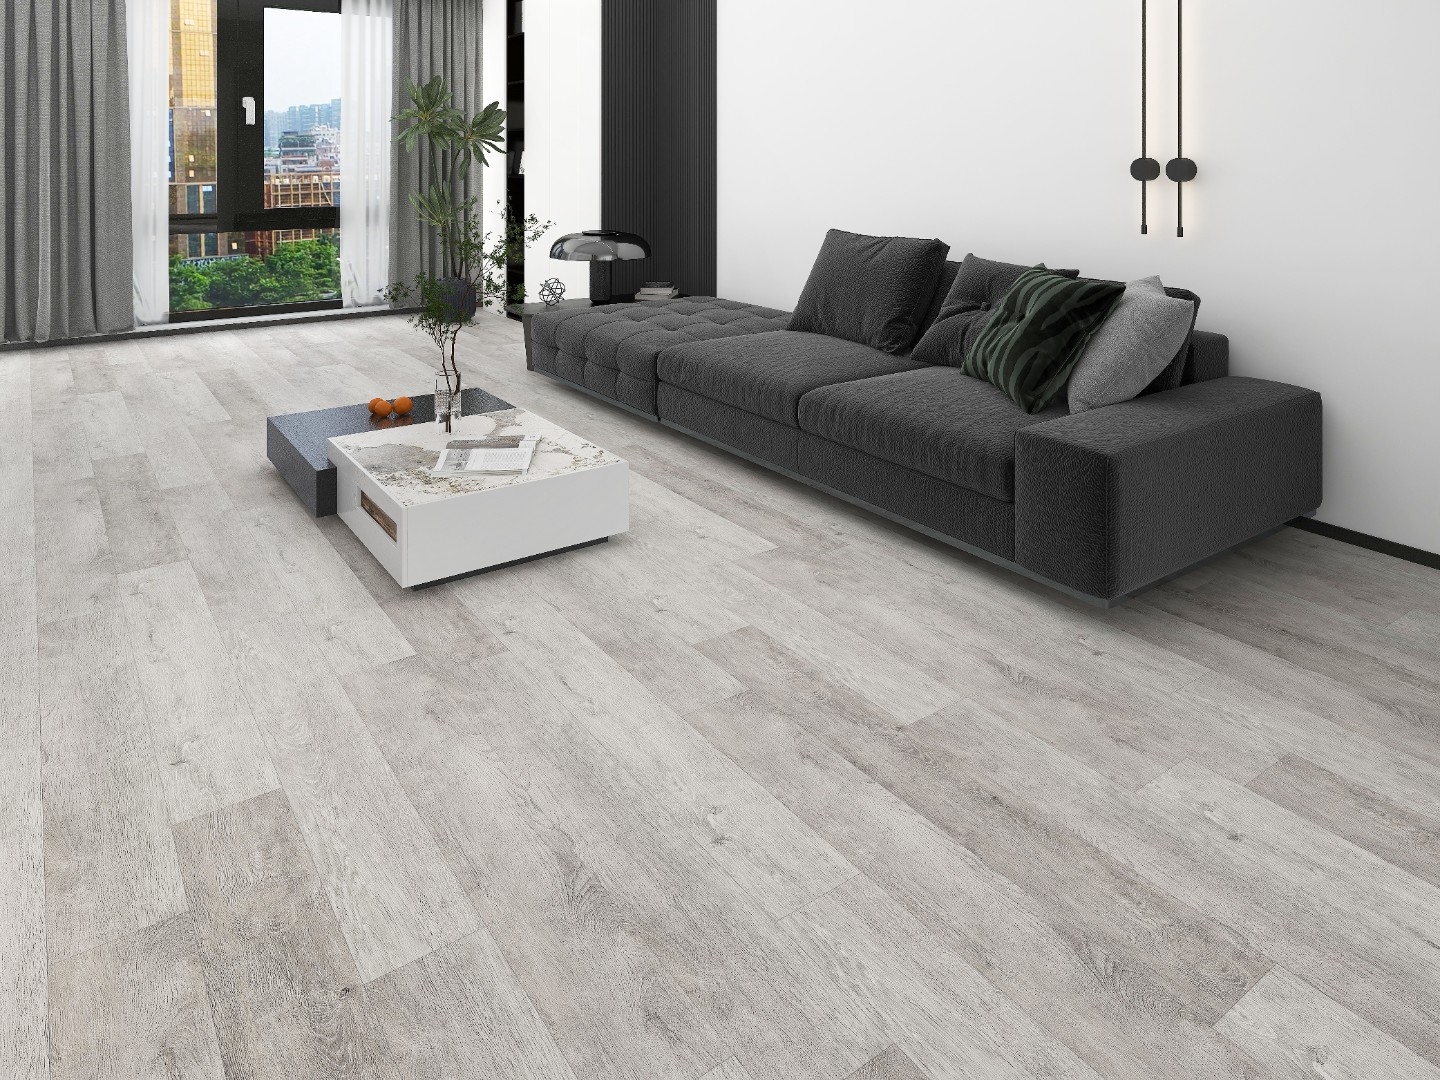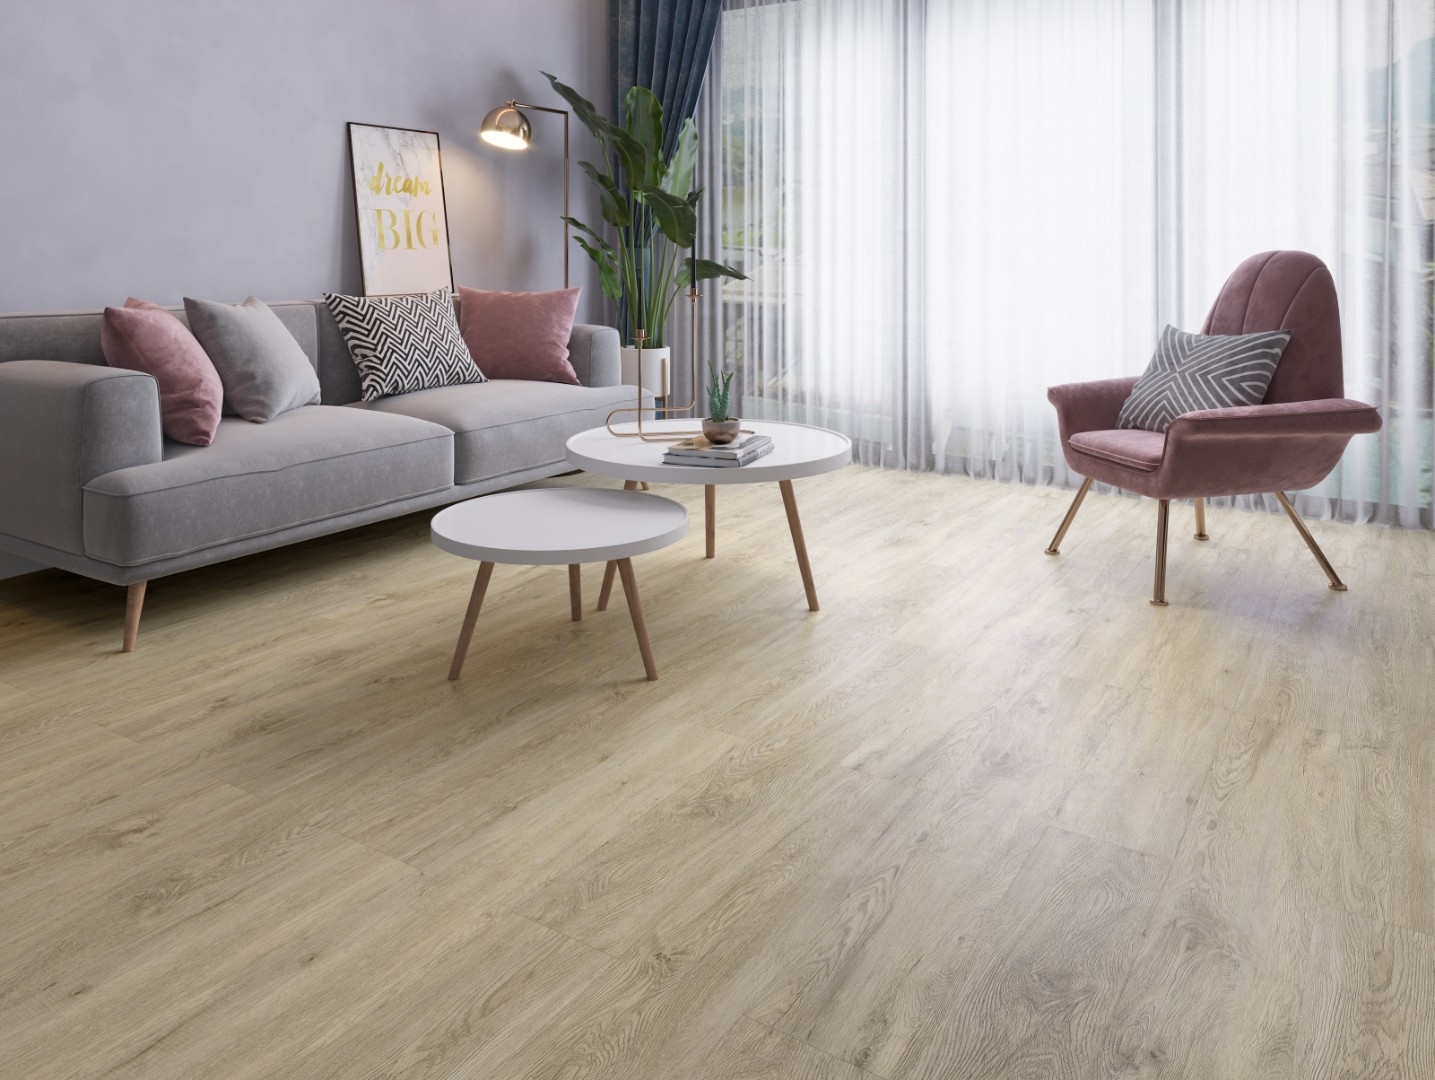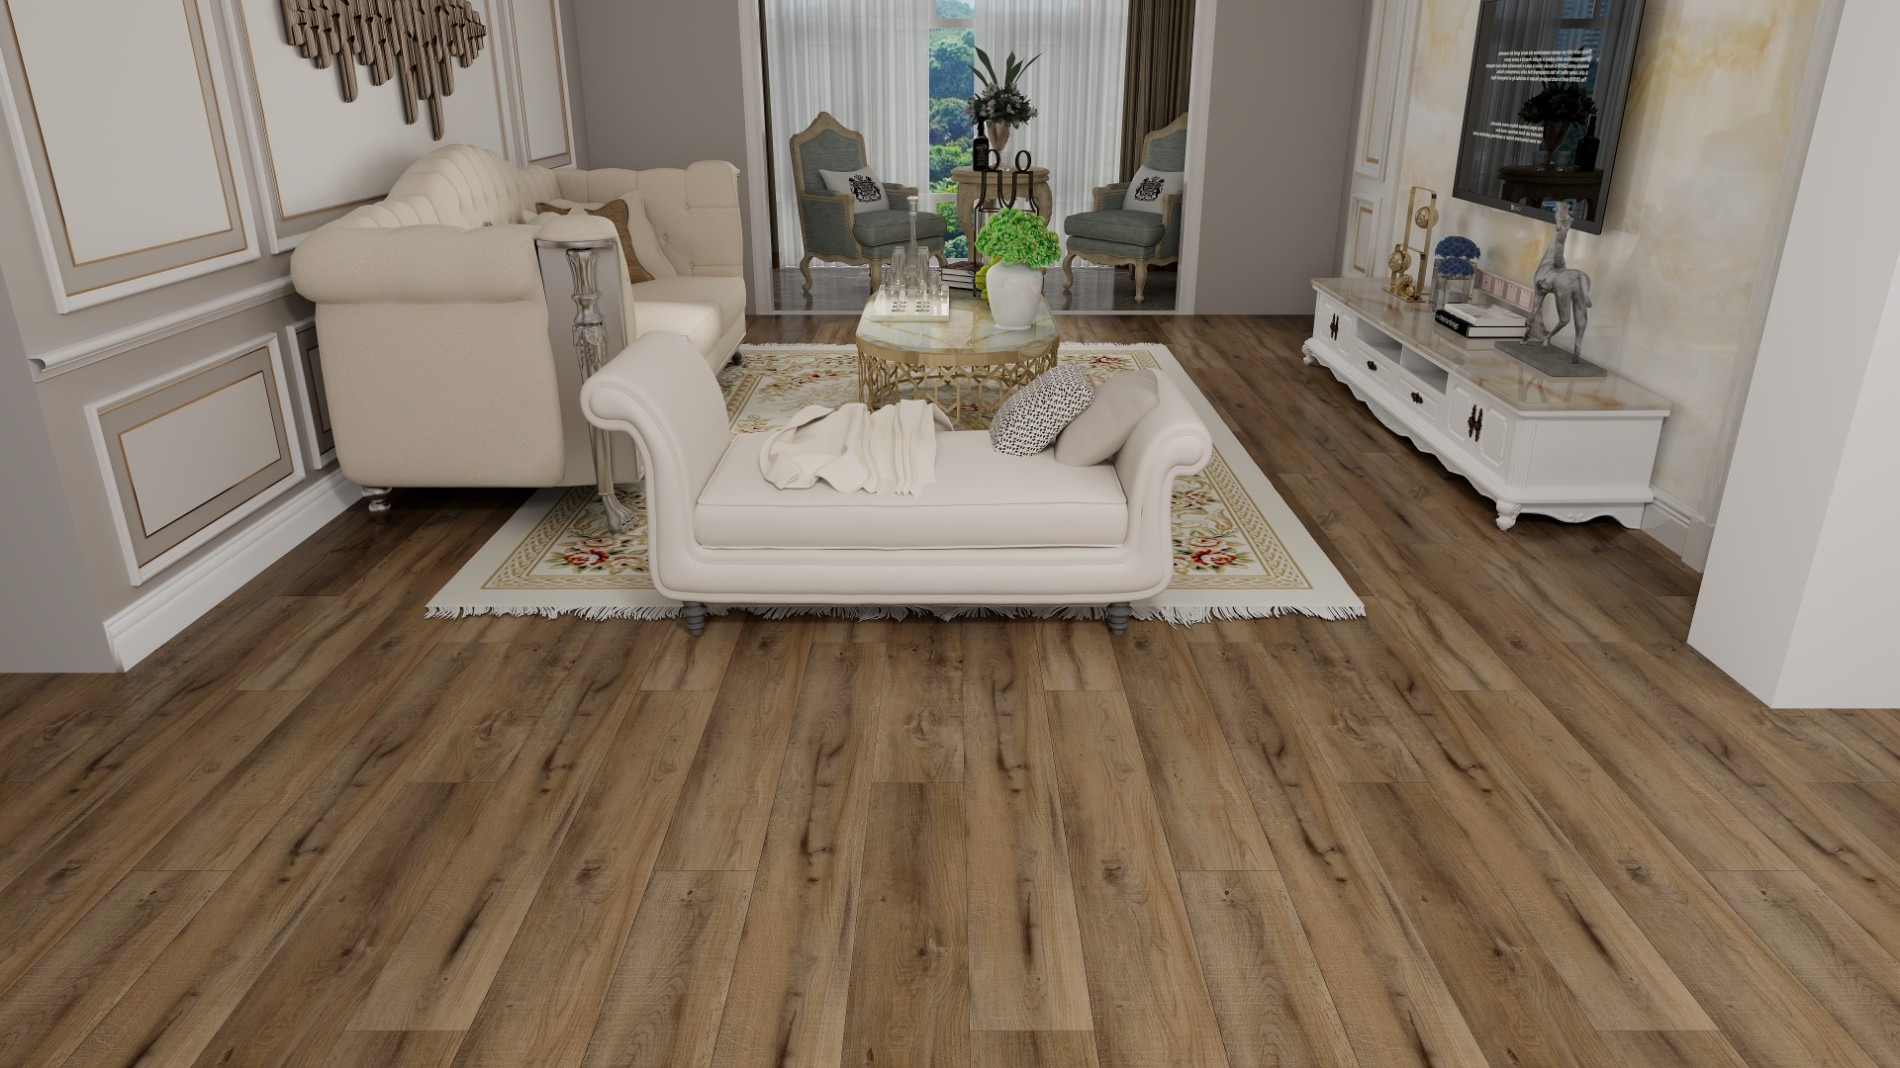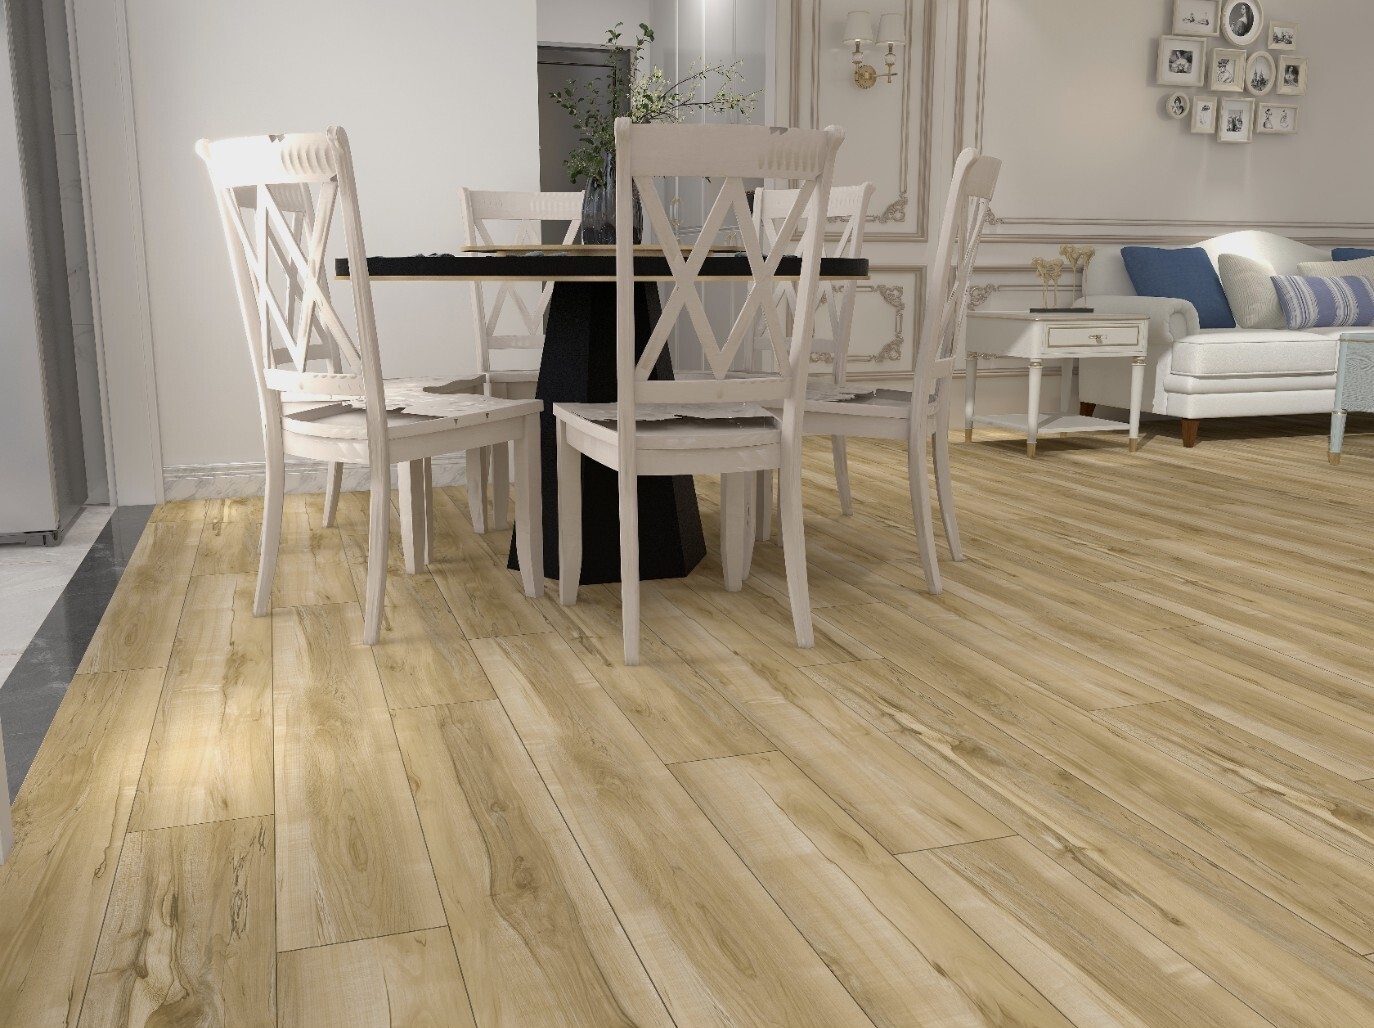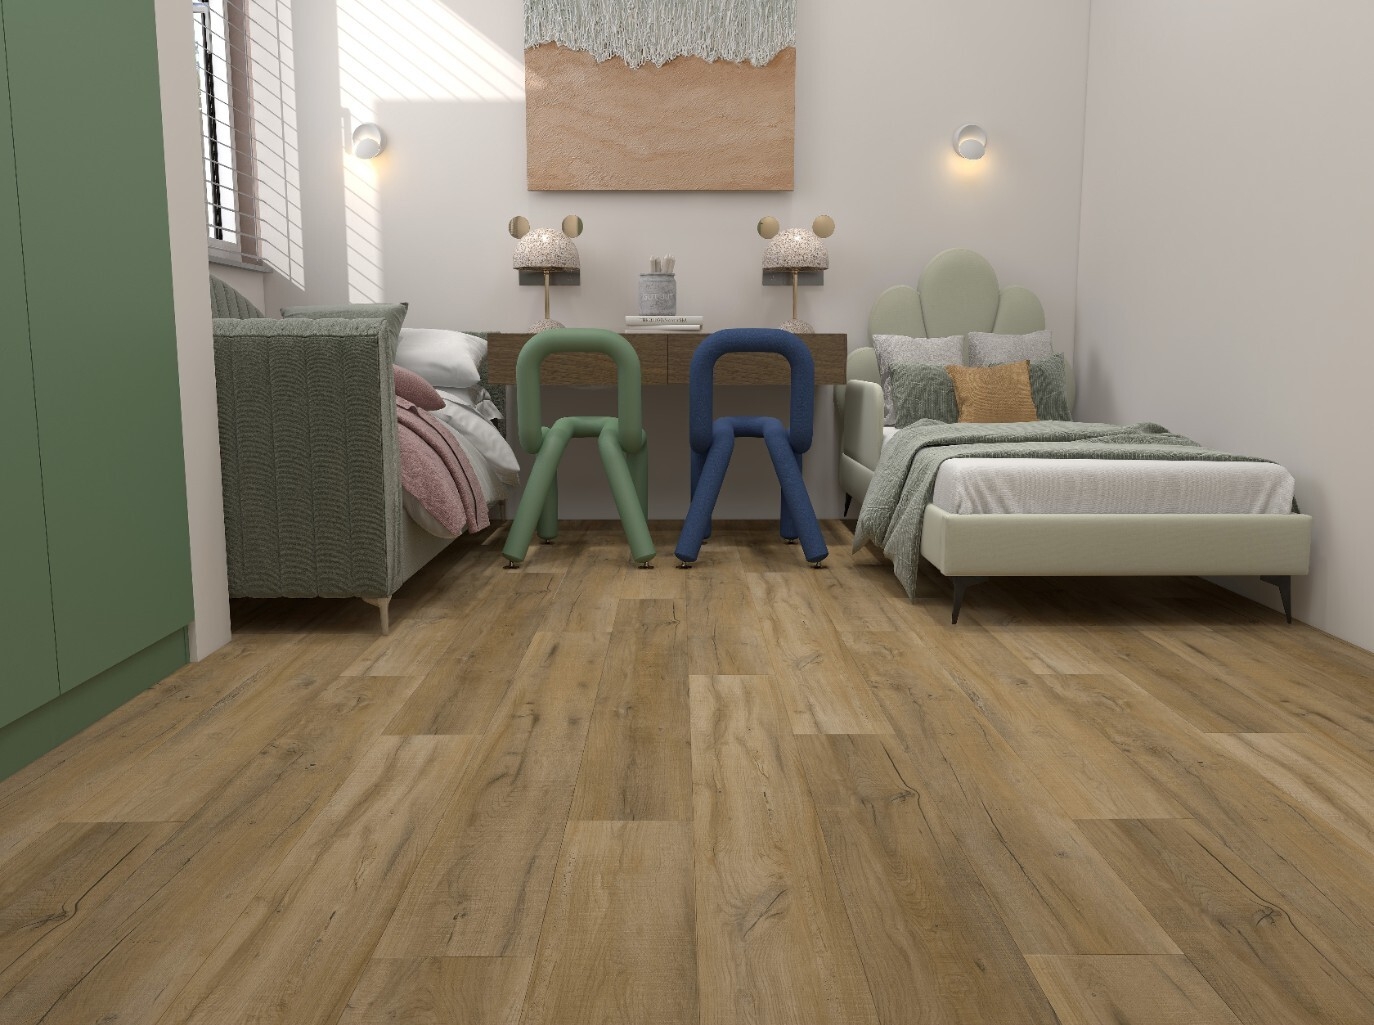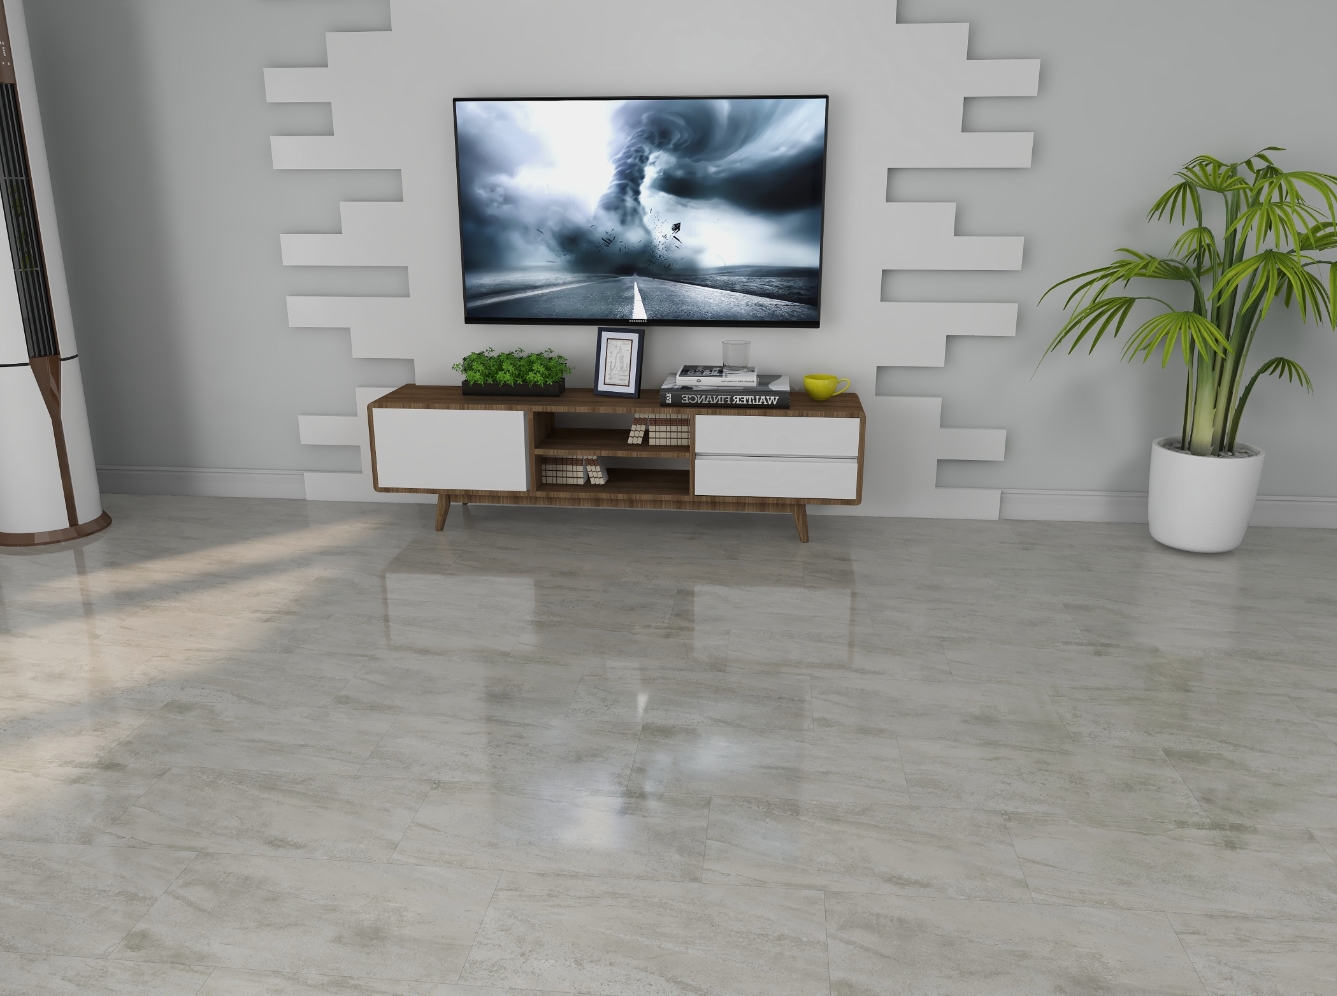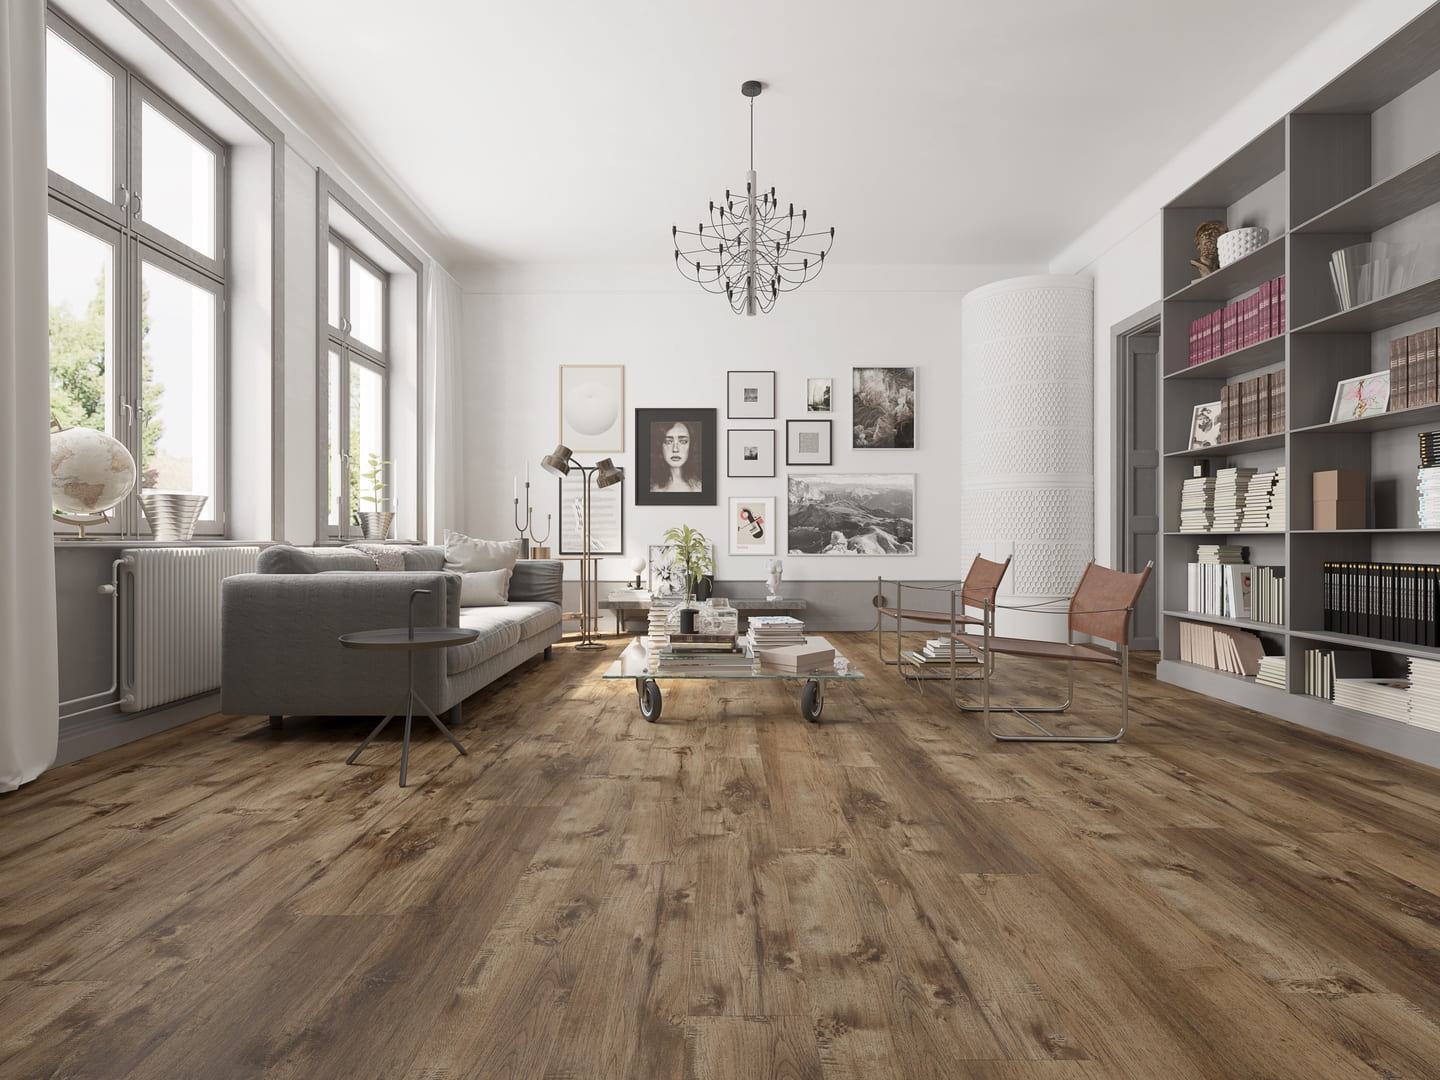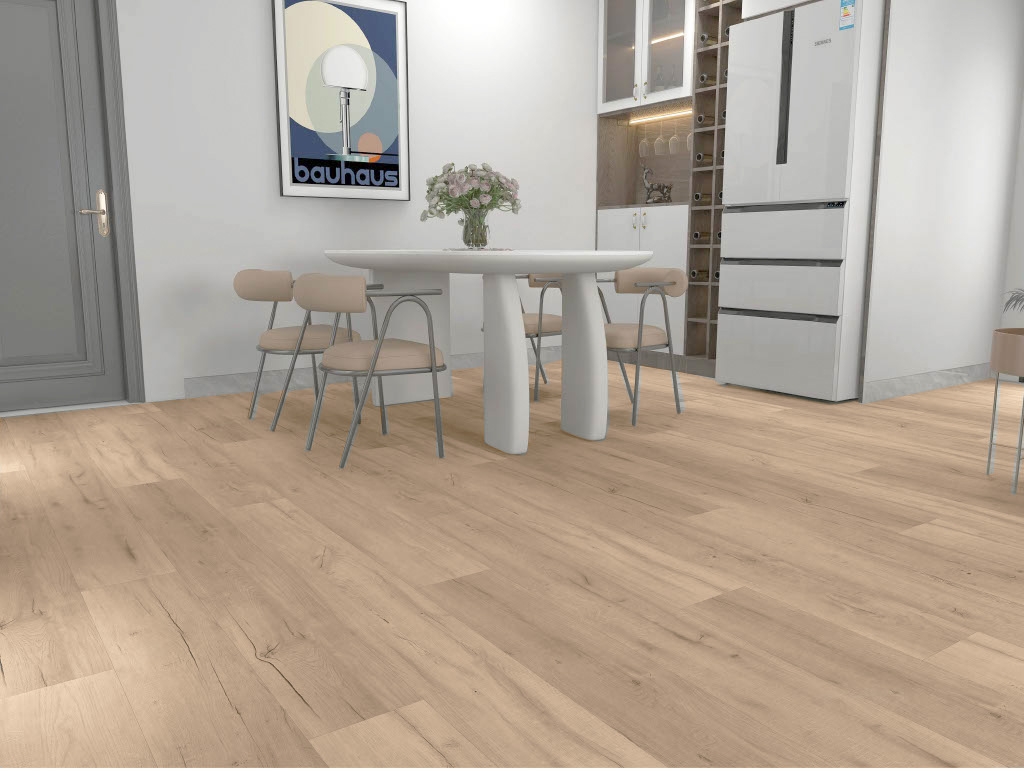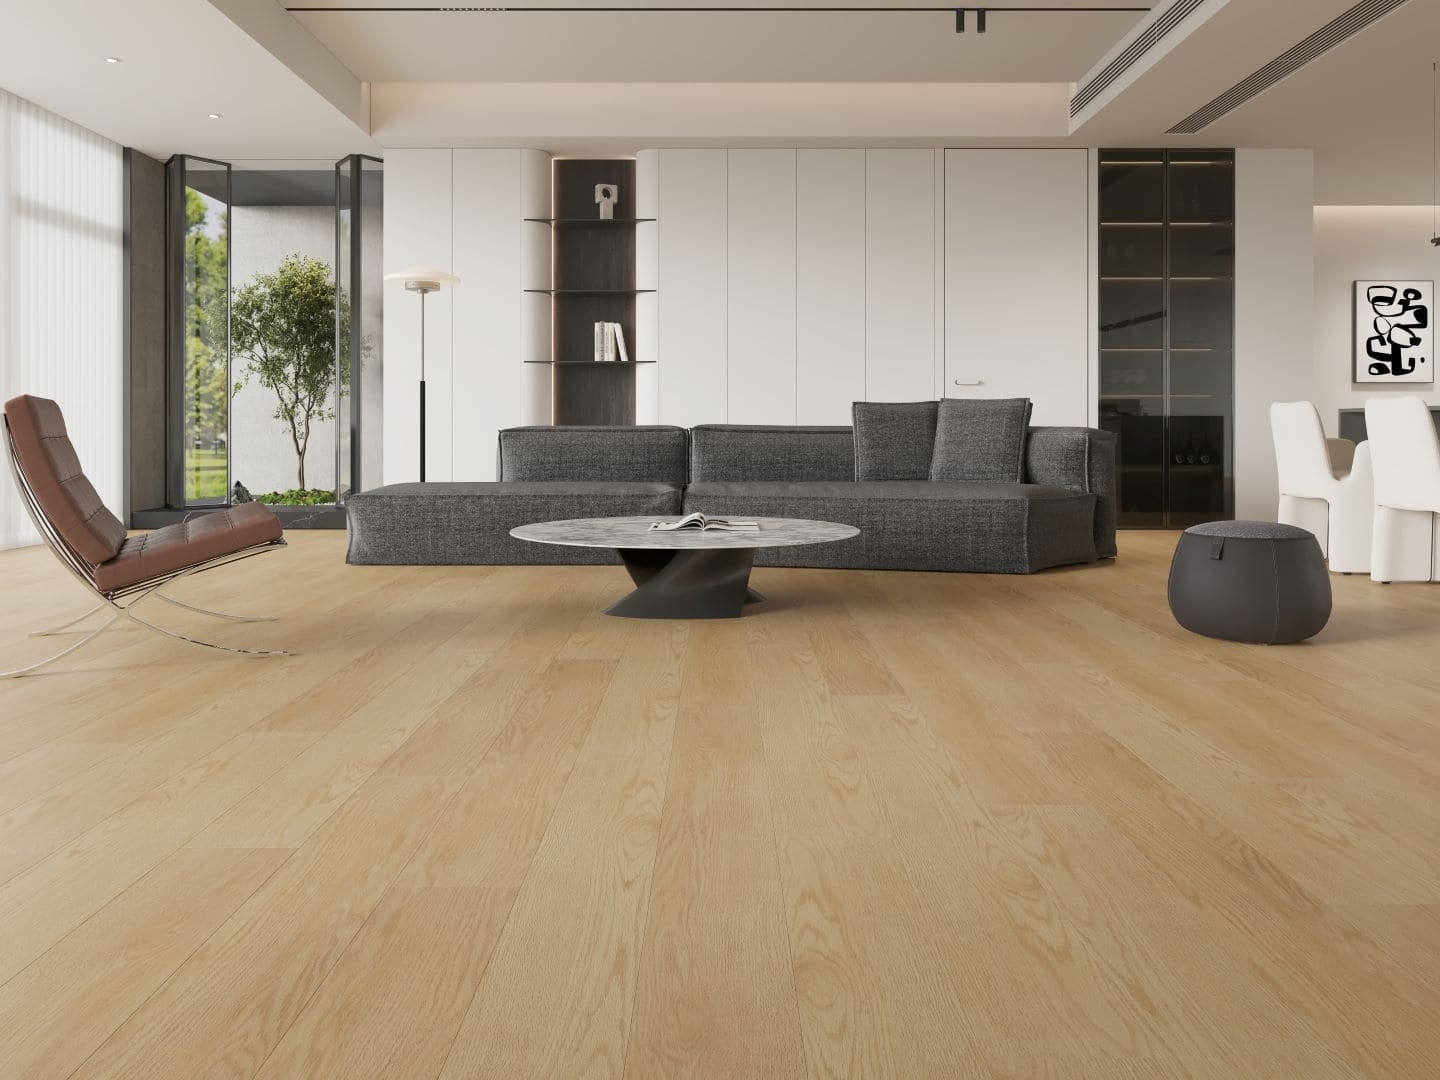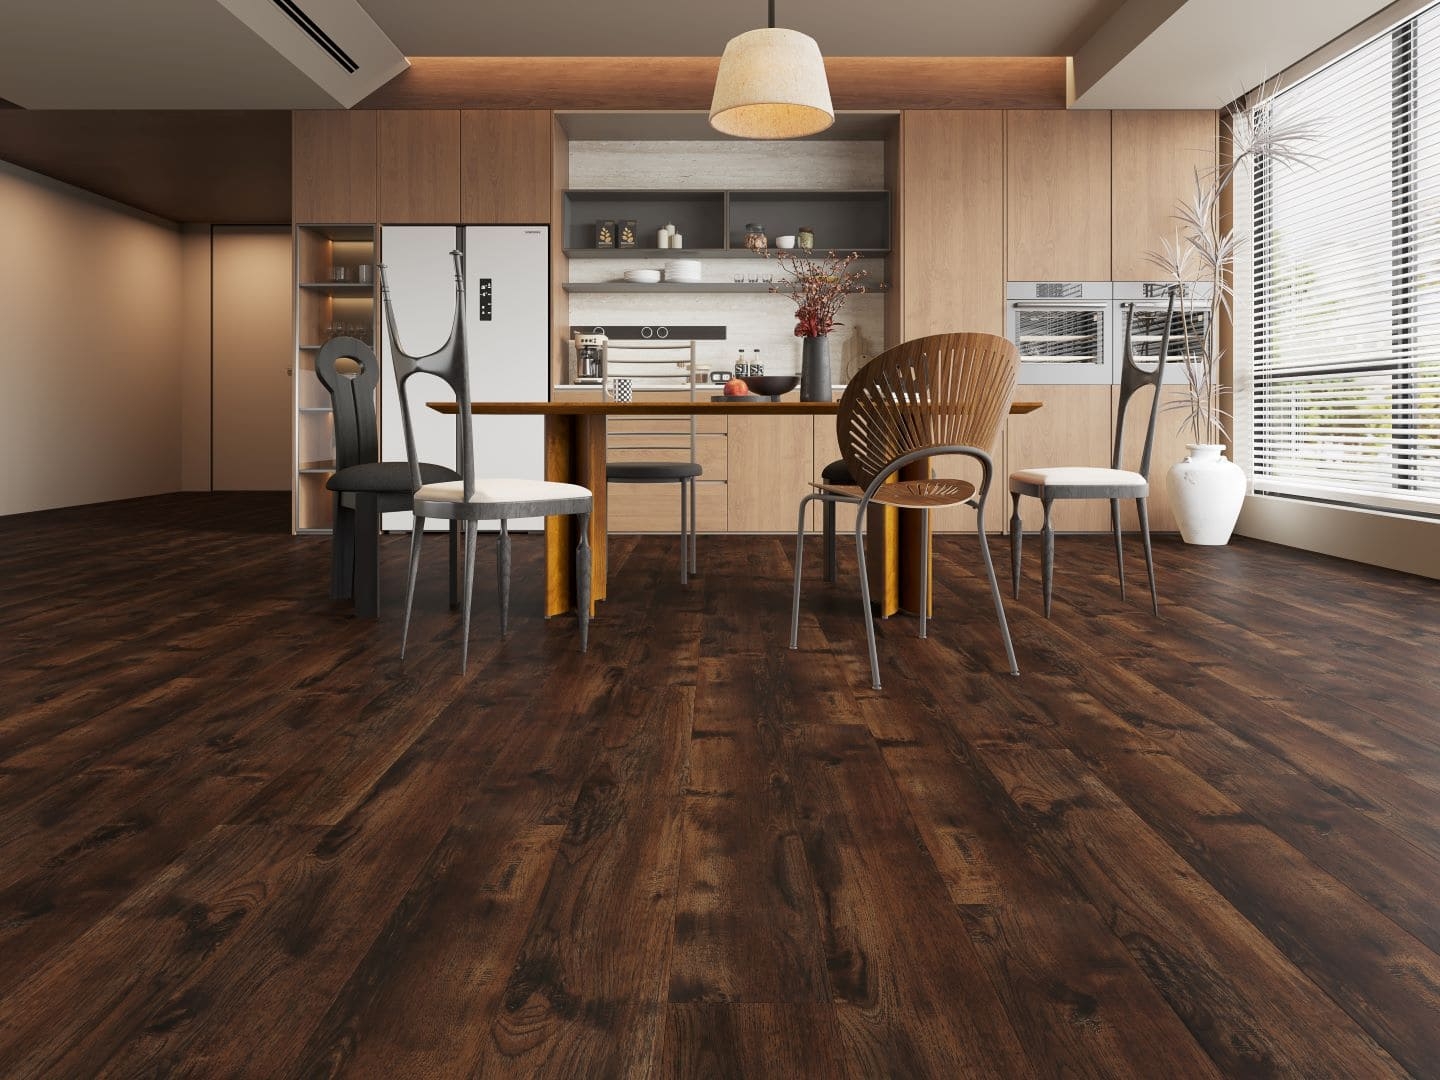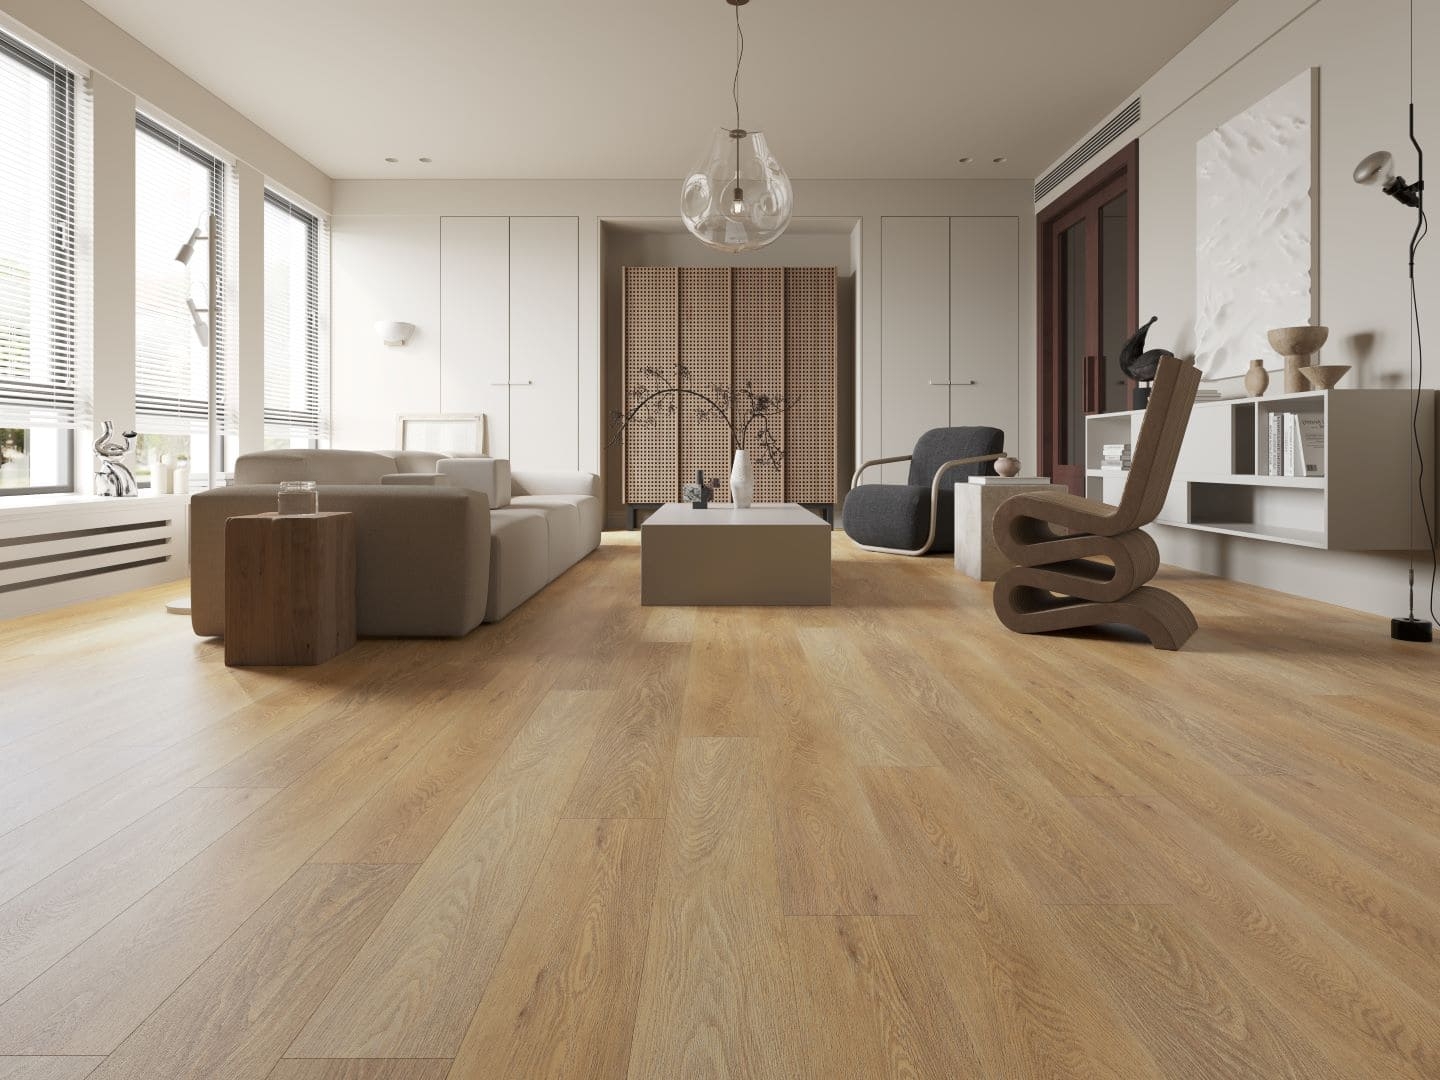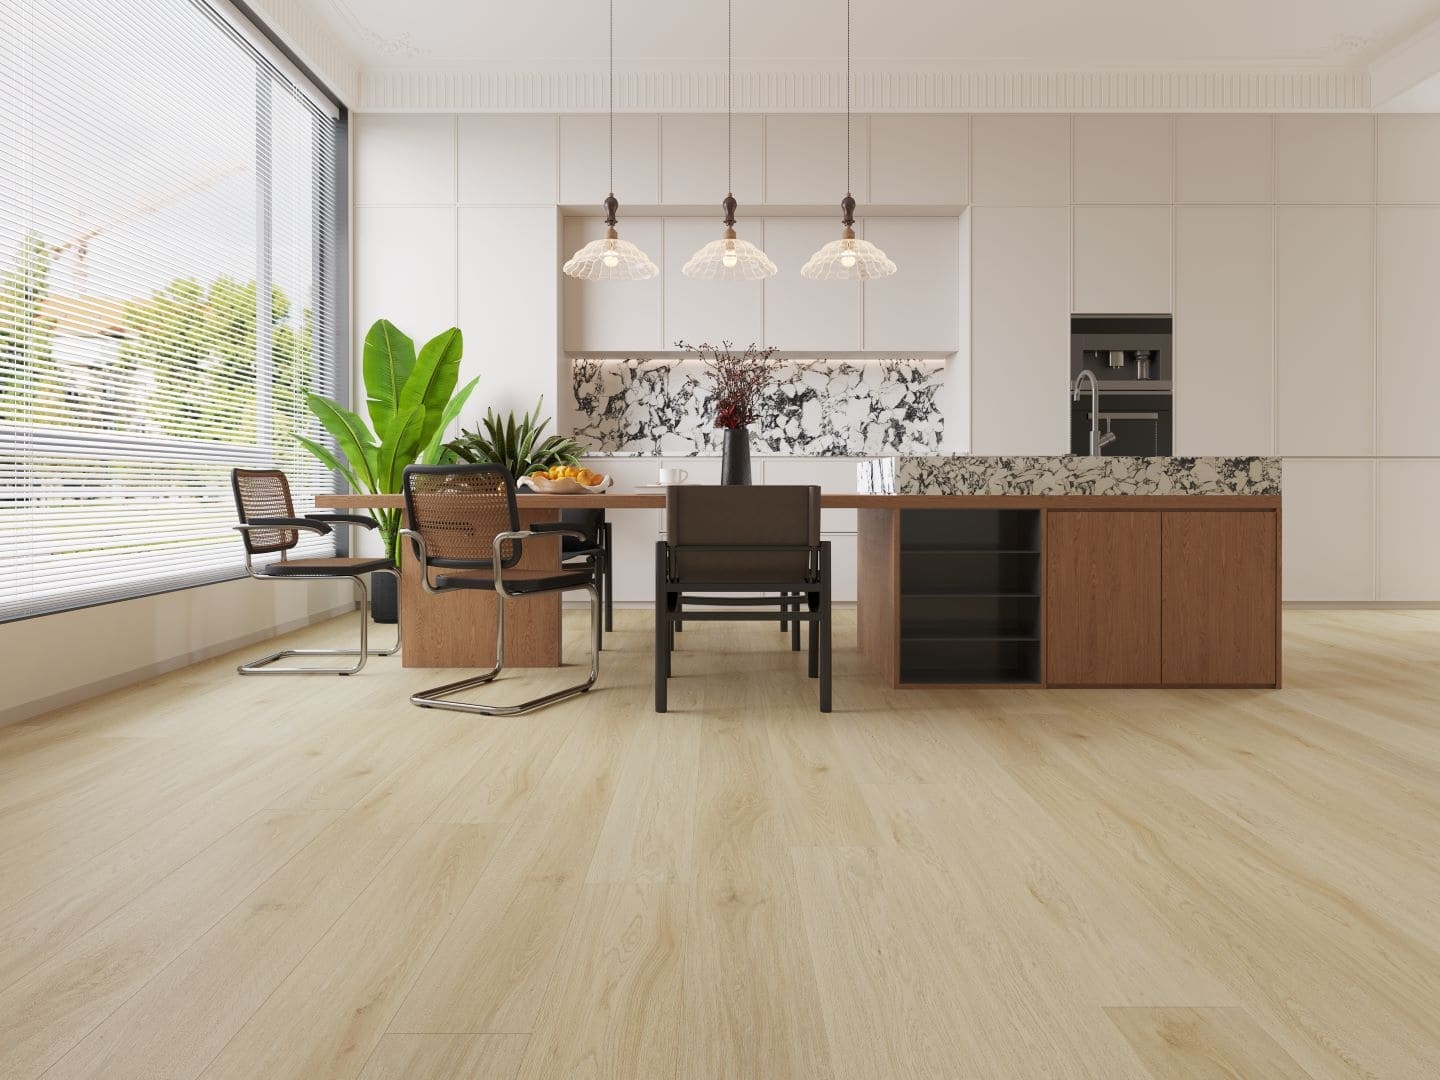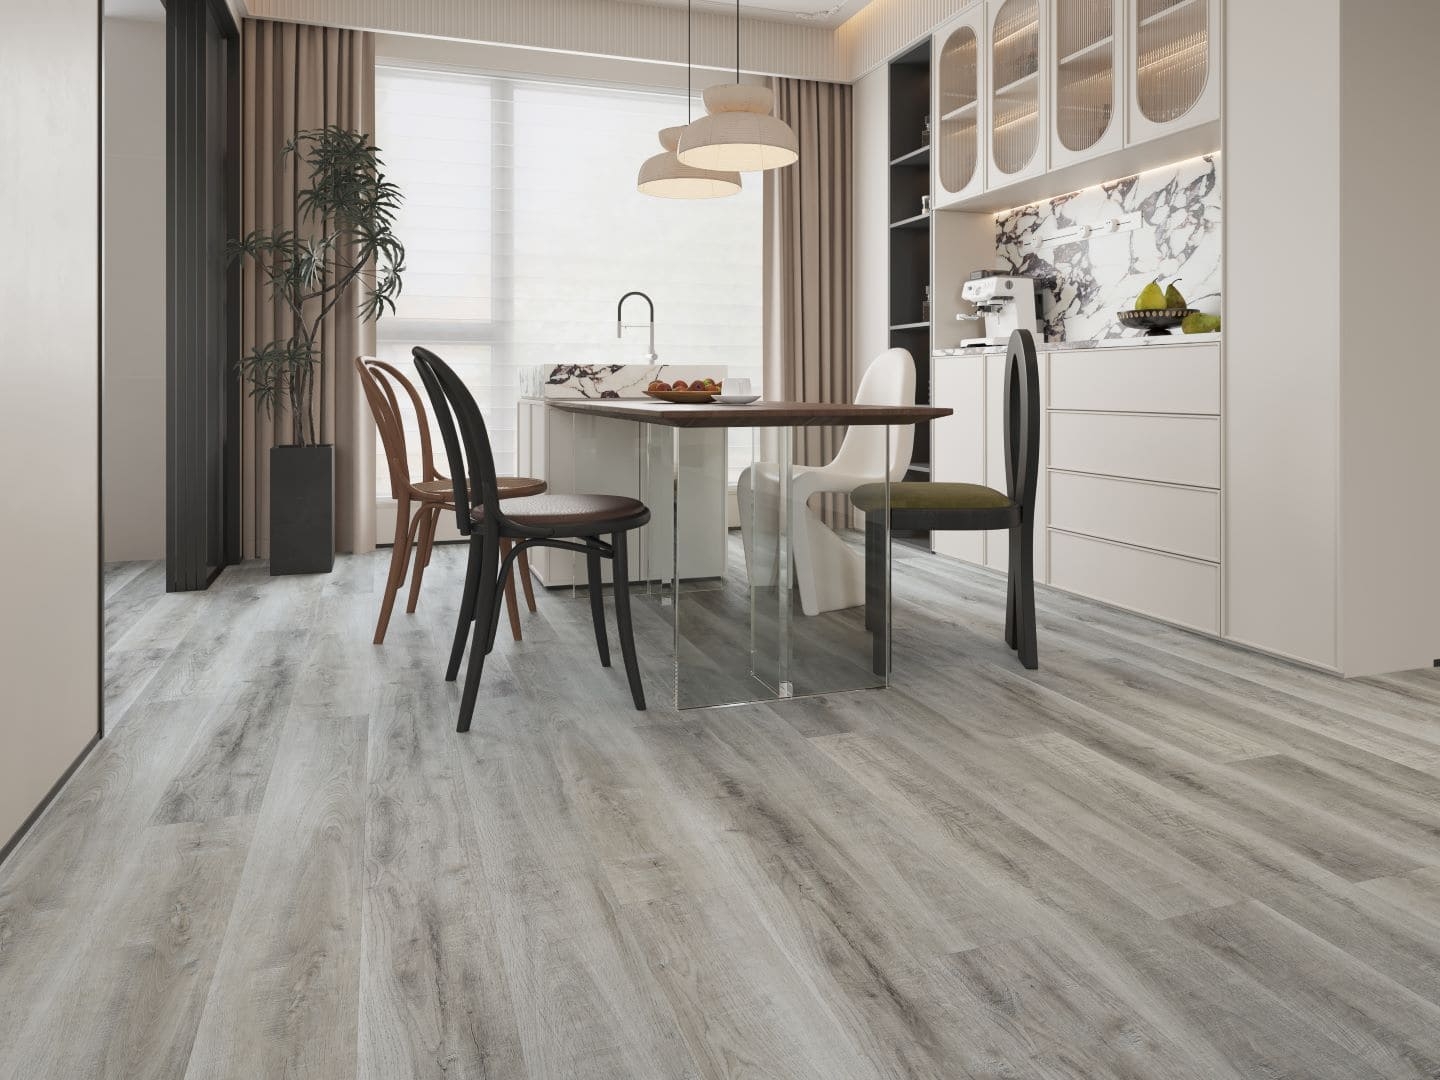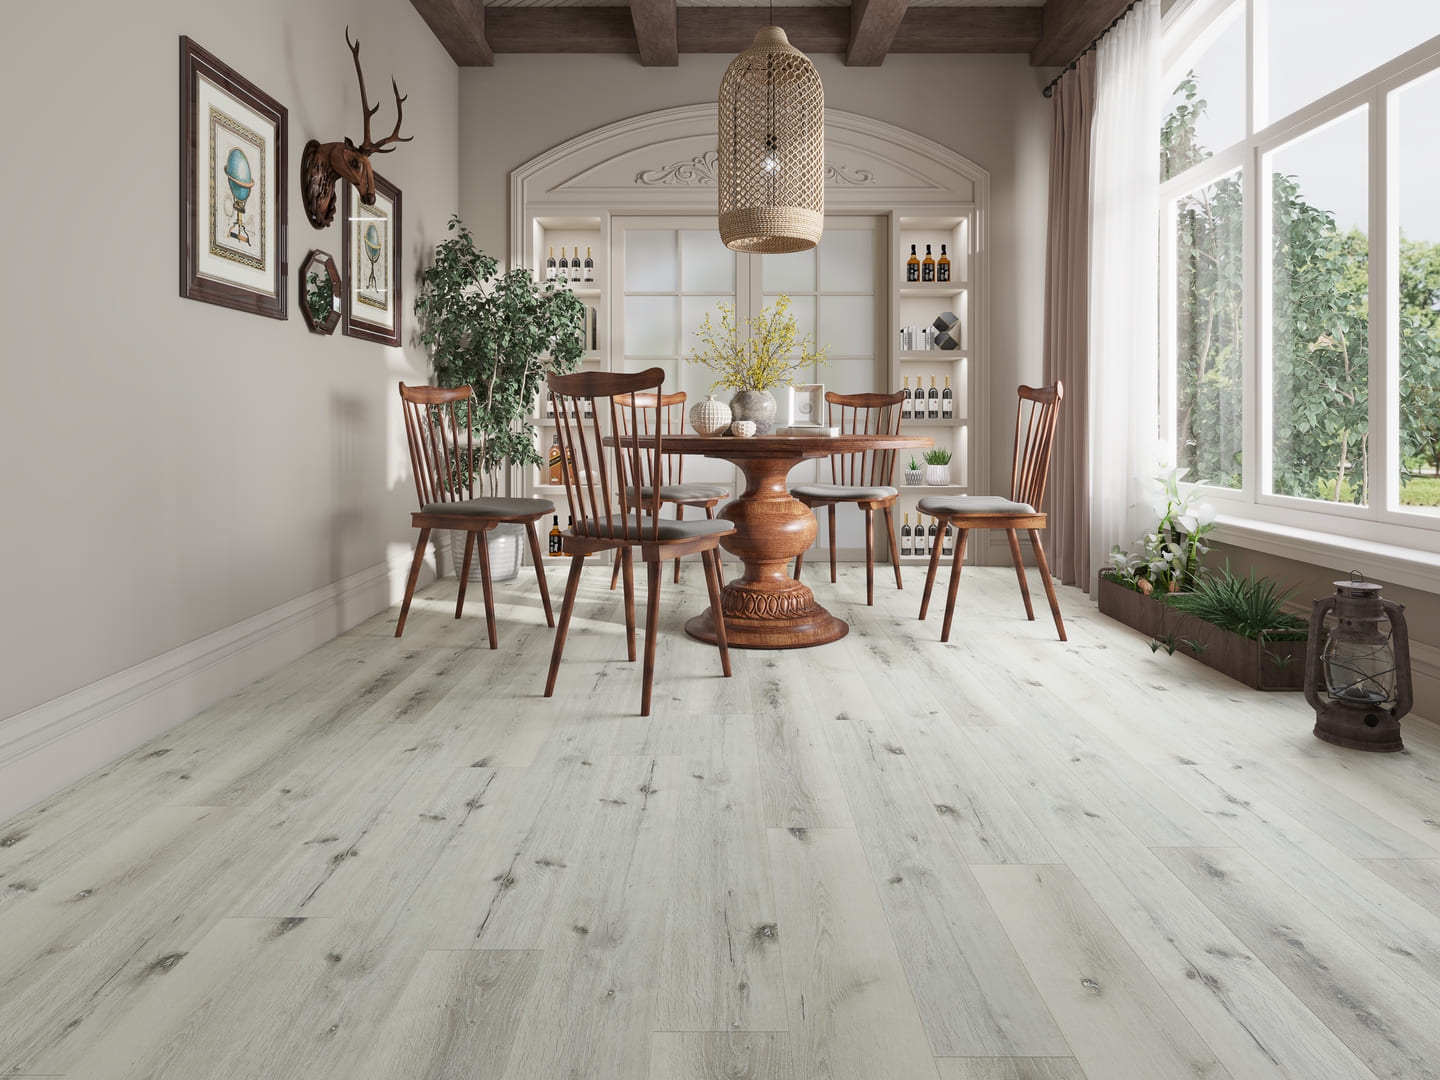


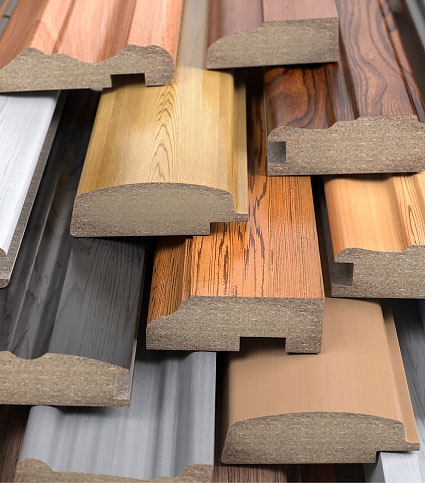


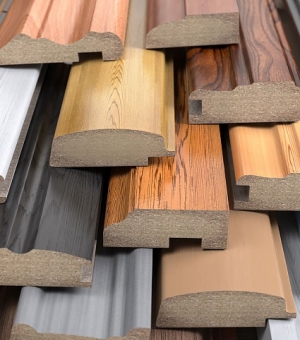
We are Canada’s leading flooring importer and distributor. Offering exceptional quality laminate, vinyl and engineered hardwood floors, our products are crafted to help you achieve your dream design.


About Floors @ Work
Floors@Work has grown into a multi million dollar company - importing and distributing our exceptional products. You can find our products in Western Canada, Eastern Canada, and Ontario.
Learn moreOur Team
Our team represents our ethos. Each member is synonymous with our enthusiasm for providing quality service. Meet the ones responsible for our growing reputation and increasing clientele.
Learn moreCommunity
FLOORS@WORK is proud to have a long history of sponsoring community events, organizations and projects throughout our community. We strongly believe in building communities. Communities we live in, work in, and work with. Vibrant communities. That’s why we sponsor ongoing community initiatives through volunteering and charitable giving. Because we’re not just building communities, we’re building communities with a sense of community.
Learn moreVideos
Aquafloor installation Video cilck here
Deck Installation with starter click here
Deck Installation without starter click here
Can I install new floor over my existing floor?
Yes, you can install over an existing wood floor, provided it meets some important conditions. ... You'll want to carefully inspect the existing flooring and repair, replace or re-fasten loose or damaged flooring, as any loose areas or voids will allow movement in the new floor, which causes squeaks.
What is the difference between SPC and WPC in vinyl plank or vinyl tile?
Both are durable and stable, however SPC is more durable and dense overall due to its limestone composition. Both work well in commercial interior spaces.
WPC consists of a rigid core layer that is thicker and lighter than the SPC core. It is softer underfoot, which makes it comfortable to stand or walk on for longer periods of time. Its thickness can give it a warmer feel and it is good at absorbing sound.
SPC consists of a rigid core layer that’s thinner and more compact and dense than WPC. This compactness makes it less likely to expand or contract during extreme temperature swings, which can improve the stability and longevity of your flooring. It’s also more durable when it comes to impact.
Can I repair my vinyl and laminate flooring?
Minor scratches and imperfections can easily be fixed with liquid seam sealer or a vinyl repair kit sold at any home improvement store. You can fix minor chips and scratches in a laminate floor with filler products. But if the damage is severe, you have to replace the planks.
Can I install hardwood flooring in my basement of any other below grade space?
Yes, you can install hardwood in a basement, as long as there is not a water nor moisture issue. ... If your basement is below grade (i.e. beneath the ground), then you need to use an engineered hardwood (rather than solid hardwood).
Read more
If you didn't find the answer you are looking for in the FAQ section, our friendly customer support team is always ready to assist you.
View all articles